I have just returned from another fantastic week guiding a great team of clients in Iceland.
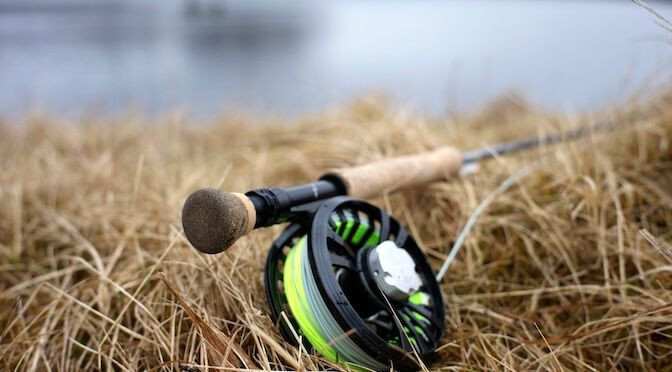
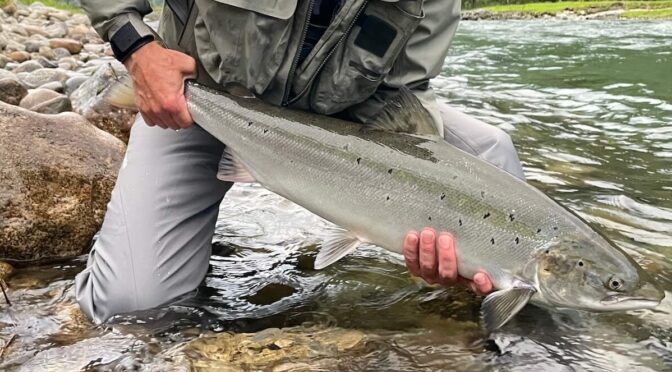
Seatrout Sweetspot: Guideline Rivolt Single Hand 10′ #7 Review
There's a particular kind of fly rod that every lodge needs a handful of.
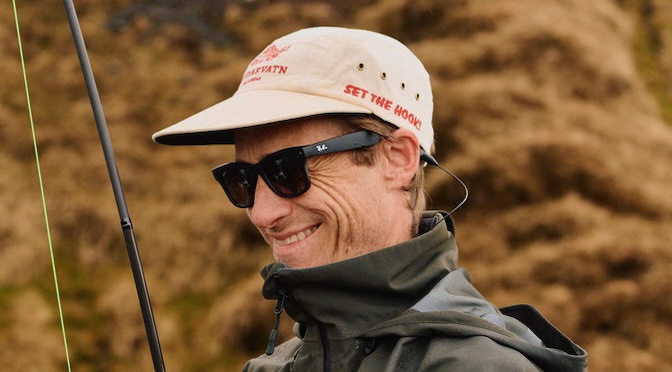
Hands on with the Ray Ban Meta 2 Polarized
The Ray Ban Wayfarer glasses are some of the most iconic shades ever made.
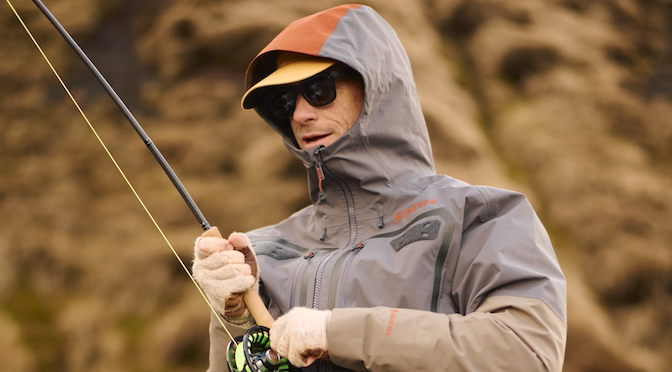
Premier Protection: 2026 Simms G3 Guide Wading Jacket Review
The Simms G3 Guide™ Wading Jacket has long been the gold standard.
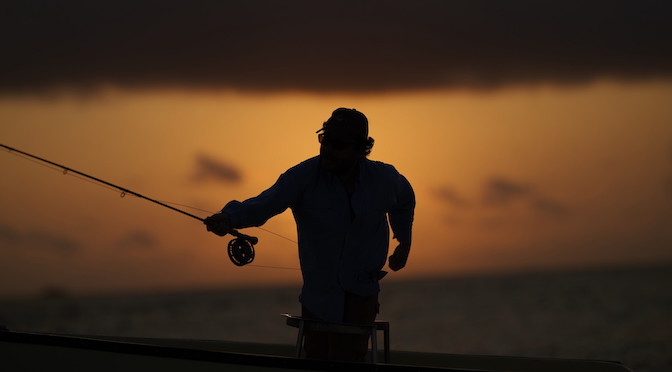
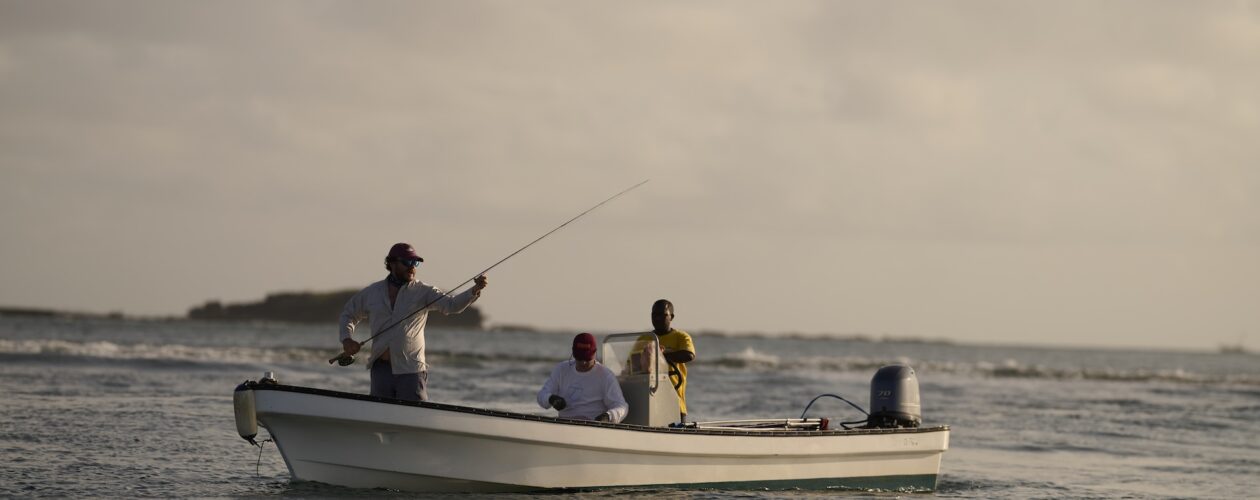
The Salt and the Silence
If the Aberdares were a study in vertical struggle and damp wool, Manda Bay was the exhale.
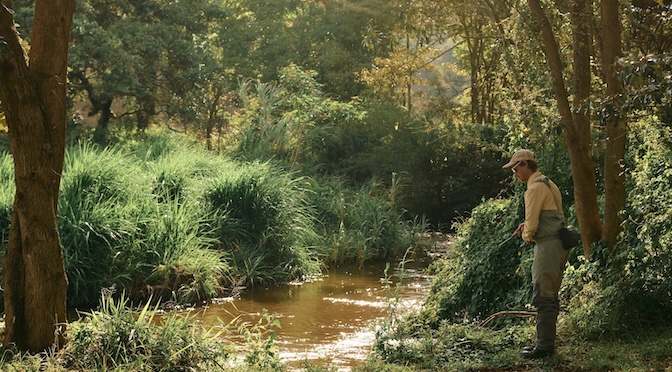
The Altitude of Ambition
I’ve always suspected that the best fishing stories aren't really about the fish.
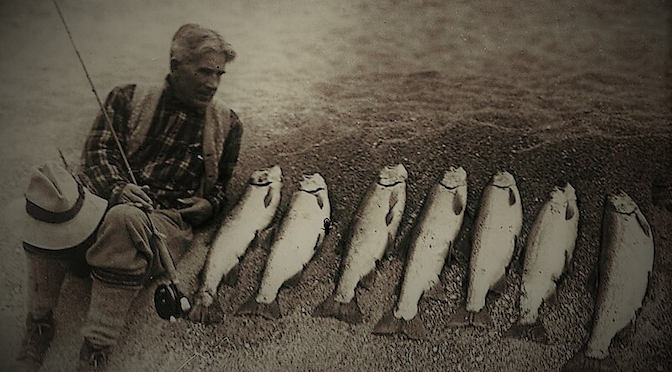
In Zane’s footsteps on the Tongariro
In 1925, author and fishing legend Zane Grey spent months in New Zealand.
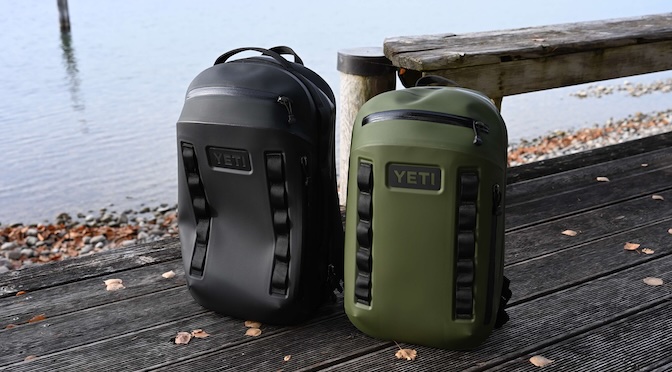
Can YETI’s new backpack deliver? Thoughts on the YETI CAYO
Yeti's waterproof backpack, the PANGA, is one of the toughest backpacks out there.
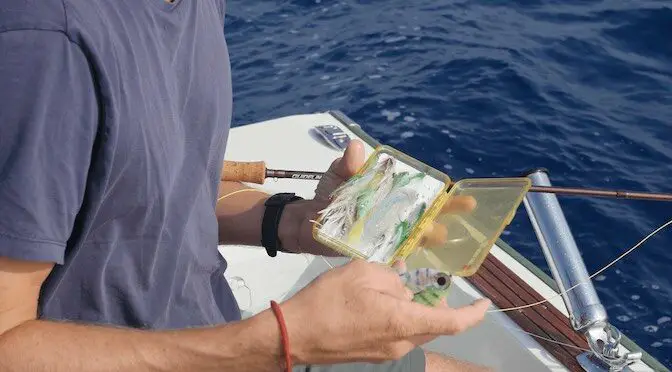
Best Saltwater Fly Rod – 2026 Buyer’s Guide
With the amount of fly rods in the market, it can be increasingly overwhelming to select the best saltwater fly rod.
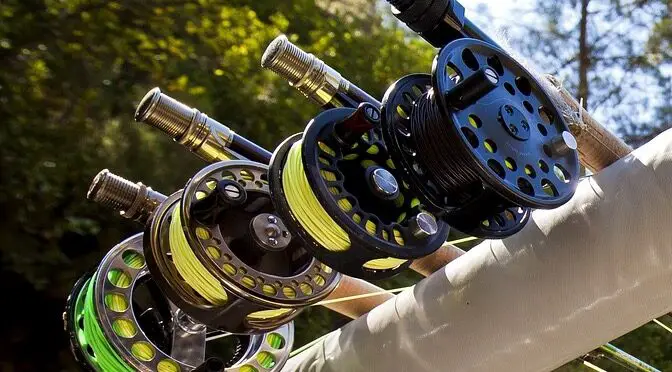
Best Beginner Fly Rod of 2026: Ultimate Buyer’s Guide
Are you a beginner fly fisherman looking for the best rod to get started with?