Last updated on May 29th, 2026.
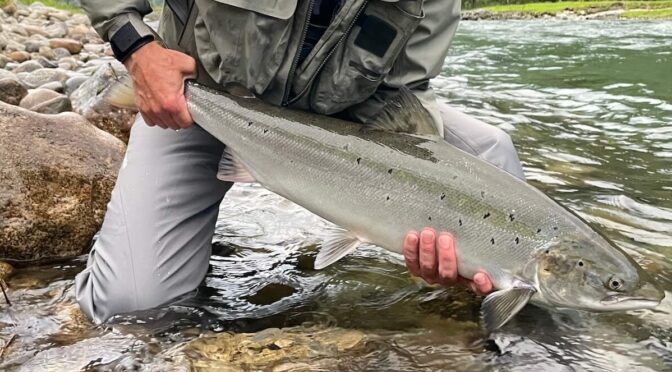
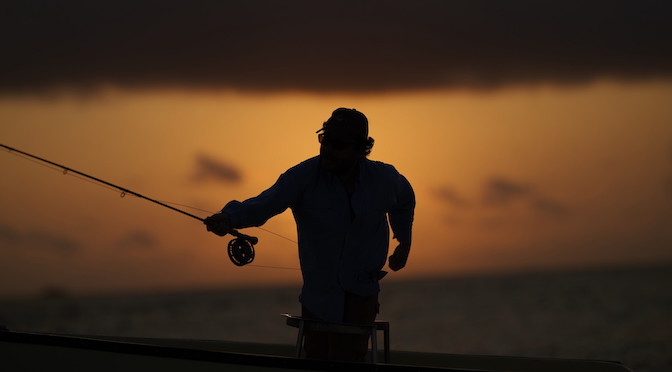
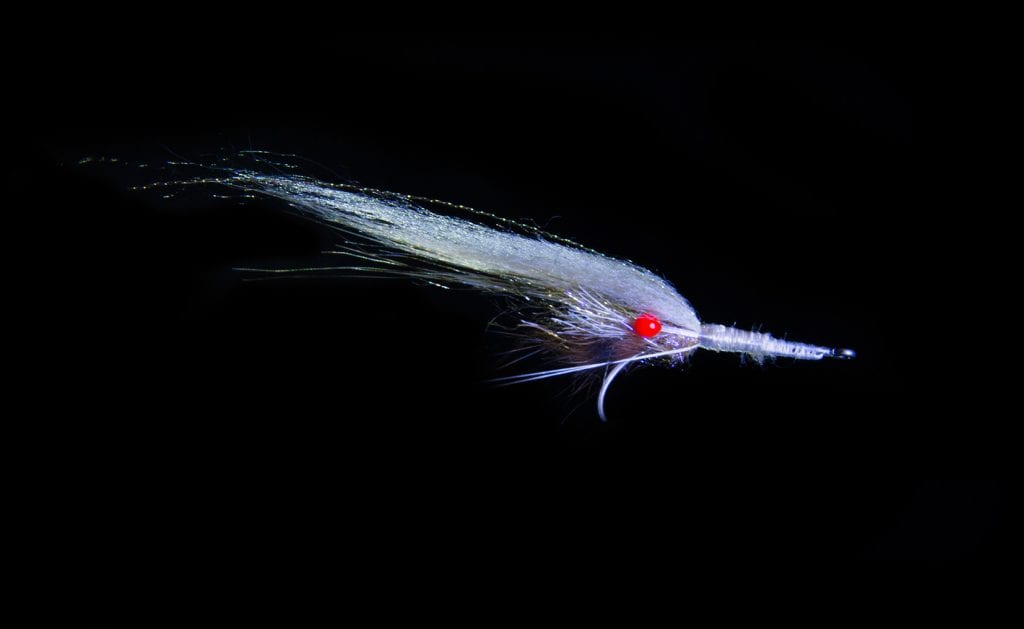
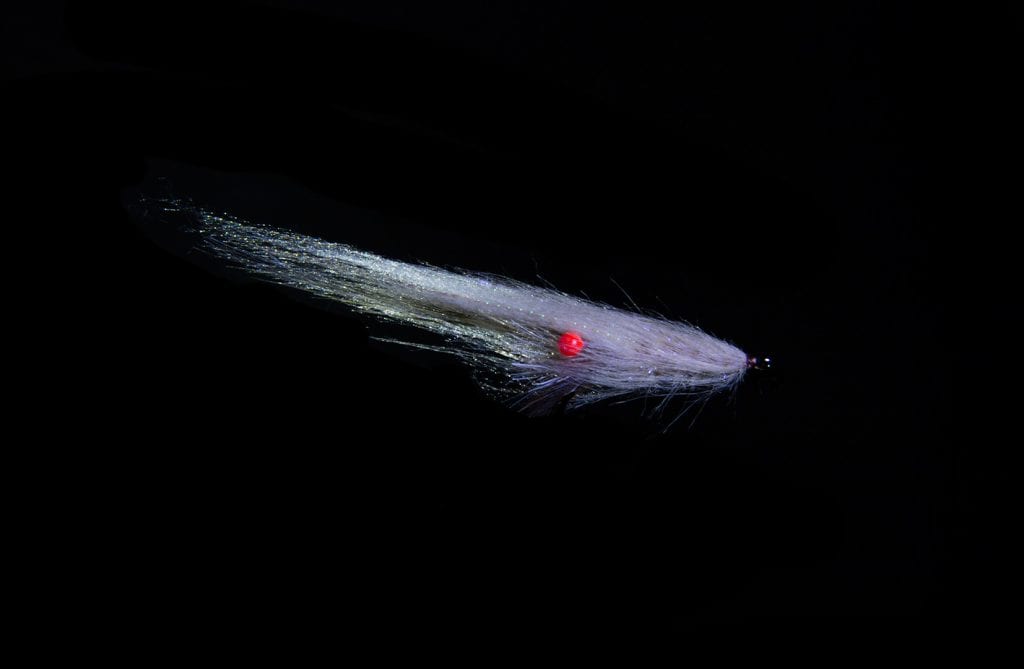
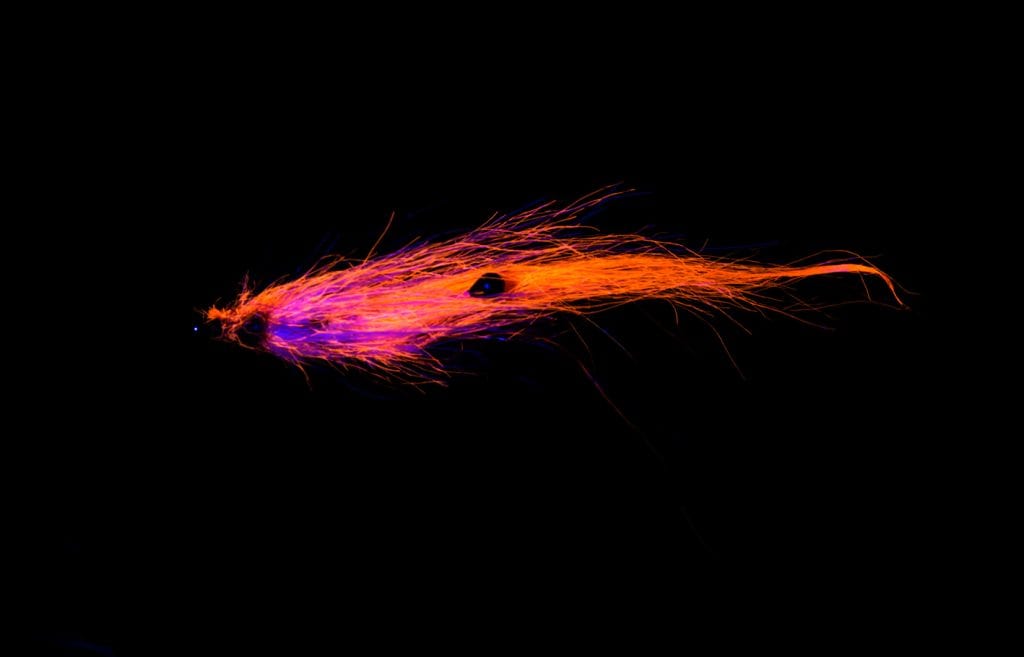
Spring is sea trout season – at least along the northern European coastlines of countries such as Denmark, Sweden and Germany. This simple pattern imitates a sea trout’s favorite food: shrimp.
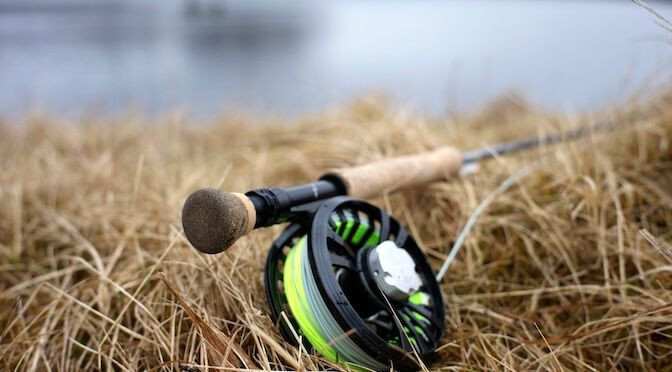
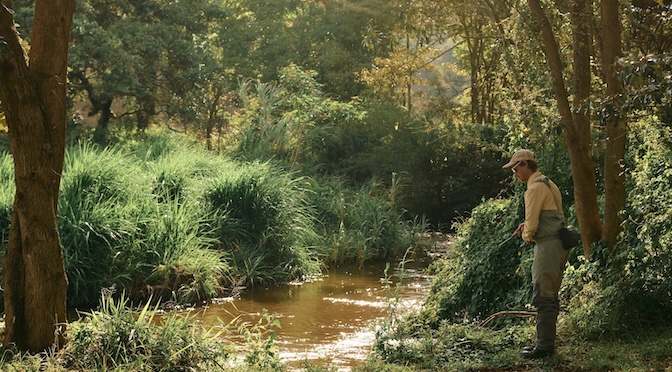
For me fly fishing for sea trout means getting rid of the unnecessary. A #6 or #7 rod and a line – that’s it. I take as few accessories to the water with me as possible – I want to fish simple.
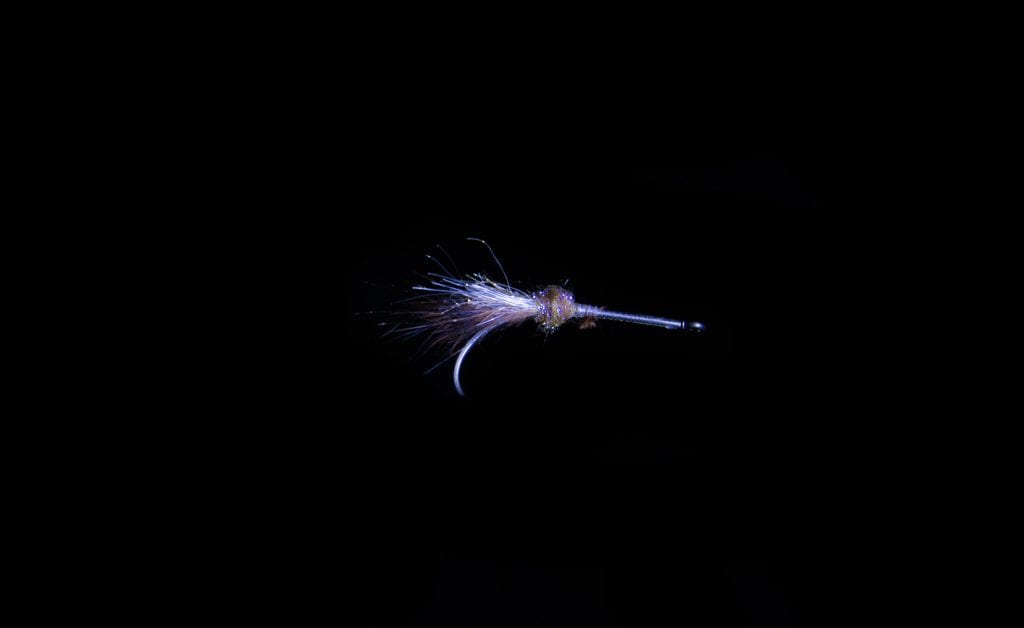
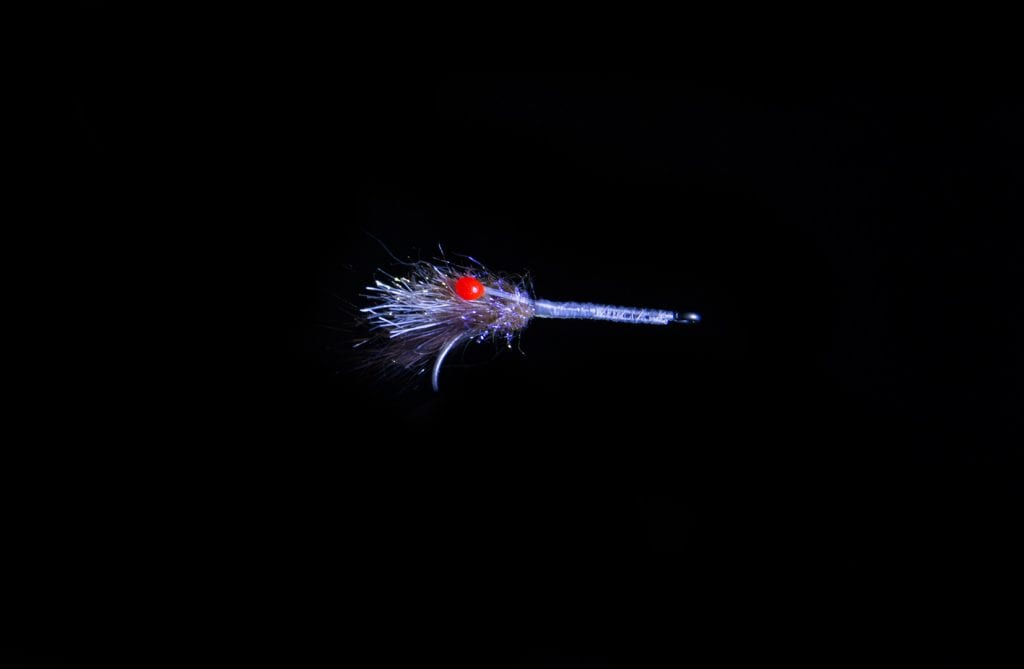
This also applies to my selection of bait. Basically I always fish with the same two or three patterns. Preferably small imitations of sticklebacks (Polar Magnus Variants made of CDC). My first choice however is a shrimp pattern that I tie in three color variations: sand, brown and pink.
You can tie all three variants with a higher or lower degree of UV. In the following step by step tying instruction I show how my shrimp pattern comes to life. The most important requirement to fish my pattern successfully is trust. As a rule, I do not change the fly at all, at most once or twice a day. The pattern at the end of the leader should therefore suit me from the beginning. I use a long shank, a little UV and a slightly transparent body. It’s important that the fly doesn’t tail. And it must fish immediately and always right after the cast.
Tying the seatrout fly step-by-step
Step 1: Put the thread on the shank of the hook and tie in a small bundle of rabbit fur. This is supposed to imitate the mouthparts. On top, a bit of stiff synthetic material. Next a small dubbing ball of UV dub and the two sensors made of Krystall flash.
Step 2: The eyes are attached to the side and a small strip of lead is incorporated. If you want to fish the shrimp upside down (jig) , I tie in the lead in front of the eye instead of the strip. The whole thing is fixed with the thread and a little secondary glue.
Step 3: In the next step, add several layers of craft fur which are tied between the eyes. Afterwards create a loop. Then wrap the thread around with UV dub and shape the body.
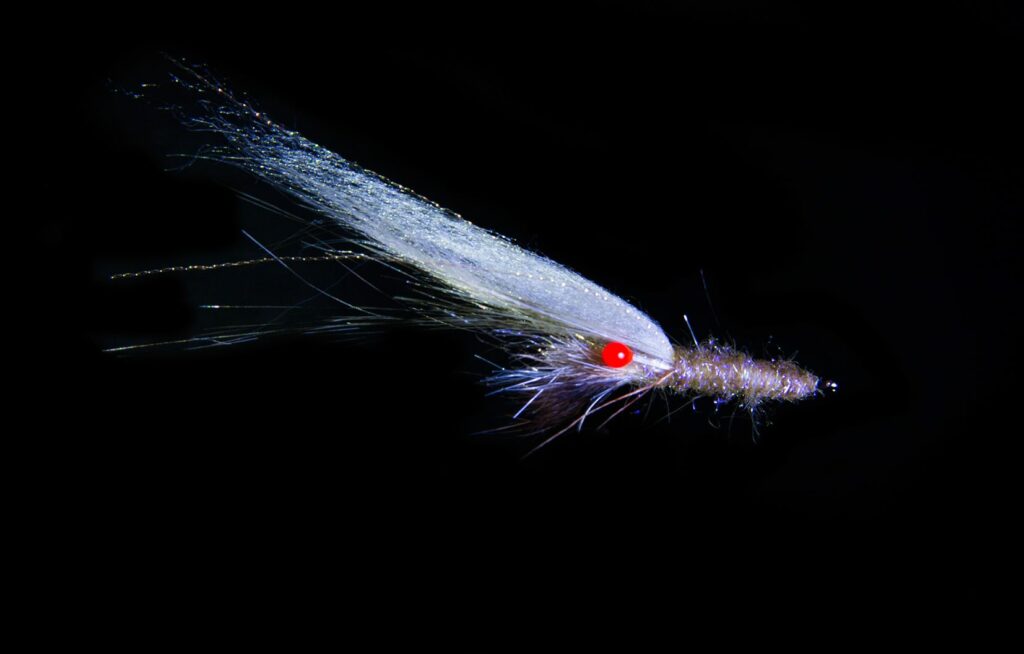
Step 4: Tie more strands of craft fur into the loop. The loop is evenly wrapped backwards around the shank to the eye. Tie and knot.
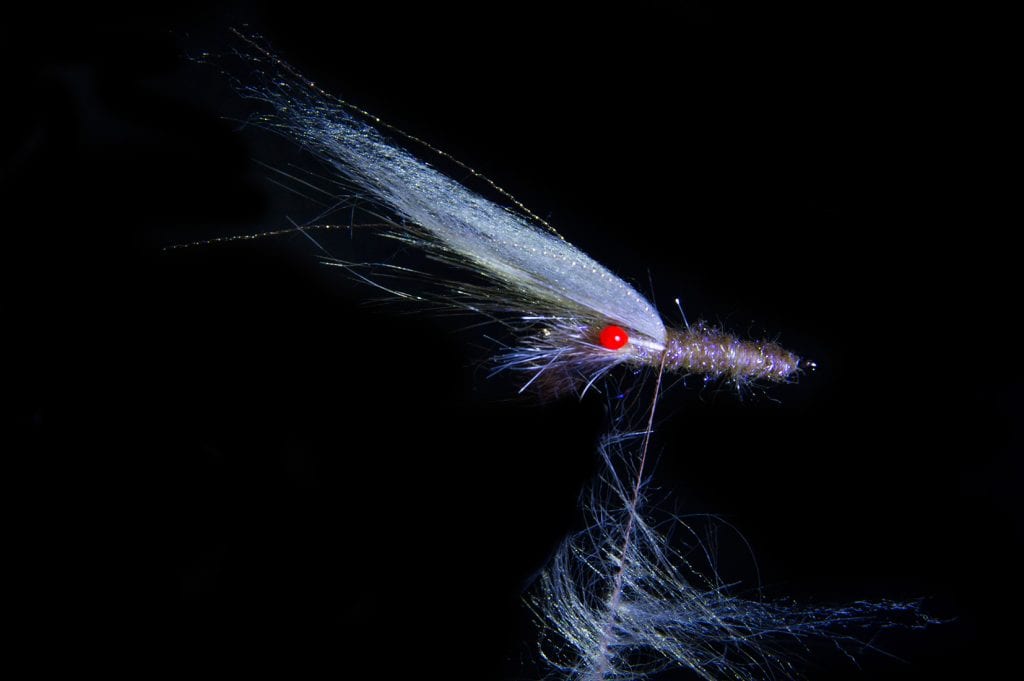
Step 5: The body’s dubbing is brushed off a bit and put back with a comb. Finally the eyes are aligned a bit and the shrimp is ready.
Step 6: All materials can be changed or varied, at will. Basically, I prefer to use “too much” material and reduce the pattern if it doesn’t suit me yet.
The shrimp should be fished quickly. If that doesn’t bring the desired success, it can also be stripped in short, crisp intervals. Most importantly the fly has to be in the water constantly.
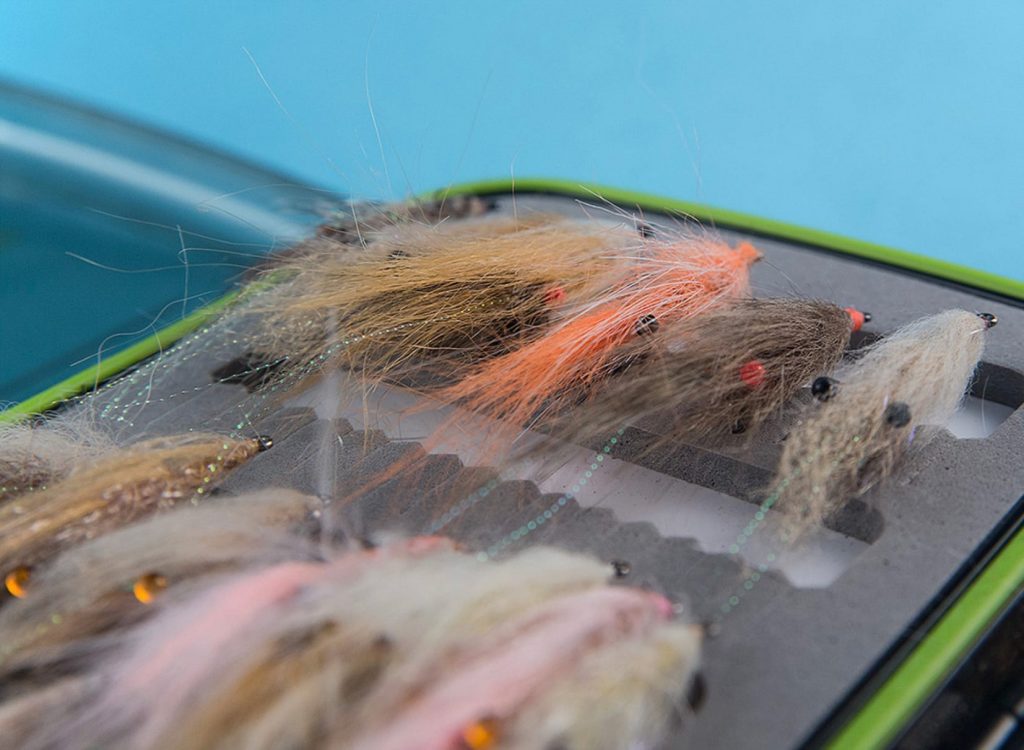
Variations of shrimp flies in a box
Here is what you need to tie the sea trout fly
– Rabbit fur for the mouthparts
– Stiffer, synthetic material prevents splitting of the trunk
– Craft Fur
– Polar Fiber and/or Polar Hair
– shrimp hook e.g. Owner Kappa SW-1, Sz. 6
– Ice Dub UV or Spectradubbing
– Crinkleflash Micro for the antennae
– some winding lead
– twine: 200d
– Dyneema Powerthread,12/0, (W. Fabisch)
– Eyes: handmade by Marco Lemburg. UV active
Check out more of Rainer’s work here:
Check out more of Rainer’s work on The Wading List:
Carp Flies: A Tasty Bread Pattern
Fly Fishing Nymphs: A Neon Underwater Shocker
Sand Eel Fly: A Simple and Effective Pattern
Pike Flies: Effective Patterns for Predators
Rainer Ballin
Rainer Ballin loves to pursue predators such as pike or perch no matter whether it's with a fly rod or spinning rod. He's also an experienced fly tier.
Learn more about Rainer.