Last updated on January 11th, 2024.
- Fly fishing nymphs: a neon underwater shocker - May 7, 2019
- Sand Eel Fly: A Simple and Effective Pattern - September 1, 2018
- Pike Flies: Effective Patterns for Predators - May 24, 2018
Over the years I have noticed that besides red and brown, neon pink or neon orange are the most successful colours in my flybox.
I was able to outwit several species with completely unnatural looking, bright nymphs. In the meantime, these neon patterns have become an indispensable part of my box. The first time I came across neon tungsten beads, was at Stenzel fly fishing’s warehouse. At that time, to me, Stenzel was the only known supplier of tungsten beads in neon colors.
In the meantime some manufacturers have been added and it is no longer a problem to purchase the eye-catching colors. And the small, bright seducers are no longer intended exclusively for salmonids. The brighter, the better, and that applies to almost every type of fish.
Tying the nymph is very easy. Of course you can also try harder and tie in rubber legs but in my experience this is not necessary.
Here is a step by step guide on how to tie these fly fishing nymphs:
Tying material:
– Hook: #8 to 14, Climax Scud Hook or Tiemco 2499SP-BL (Dry Fly & Nymph)
– Floss (Neon/UV active)
– Tungsten bread, neon orange or pink
– Wire
– Dubbing: Ice Dub, olive/brown
Optional:
– Rubber legs
– UV only for the body
– Lead wire for more weight and as body material
– Loon Hard Head, pink or orange
Tying steps:
1. Pull up the bead and secure the hook in the vise.
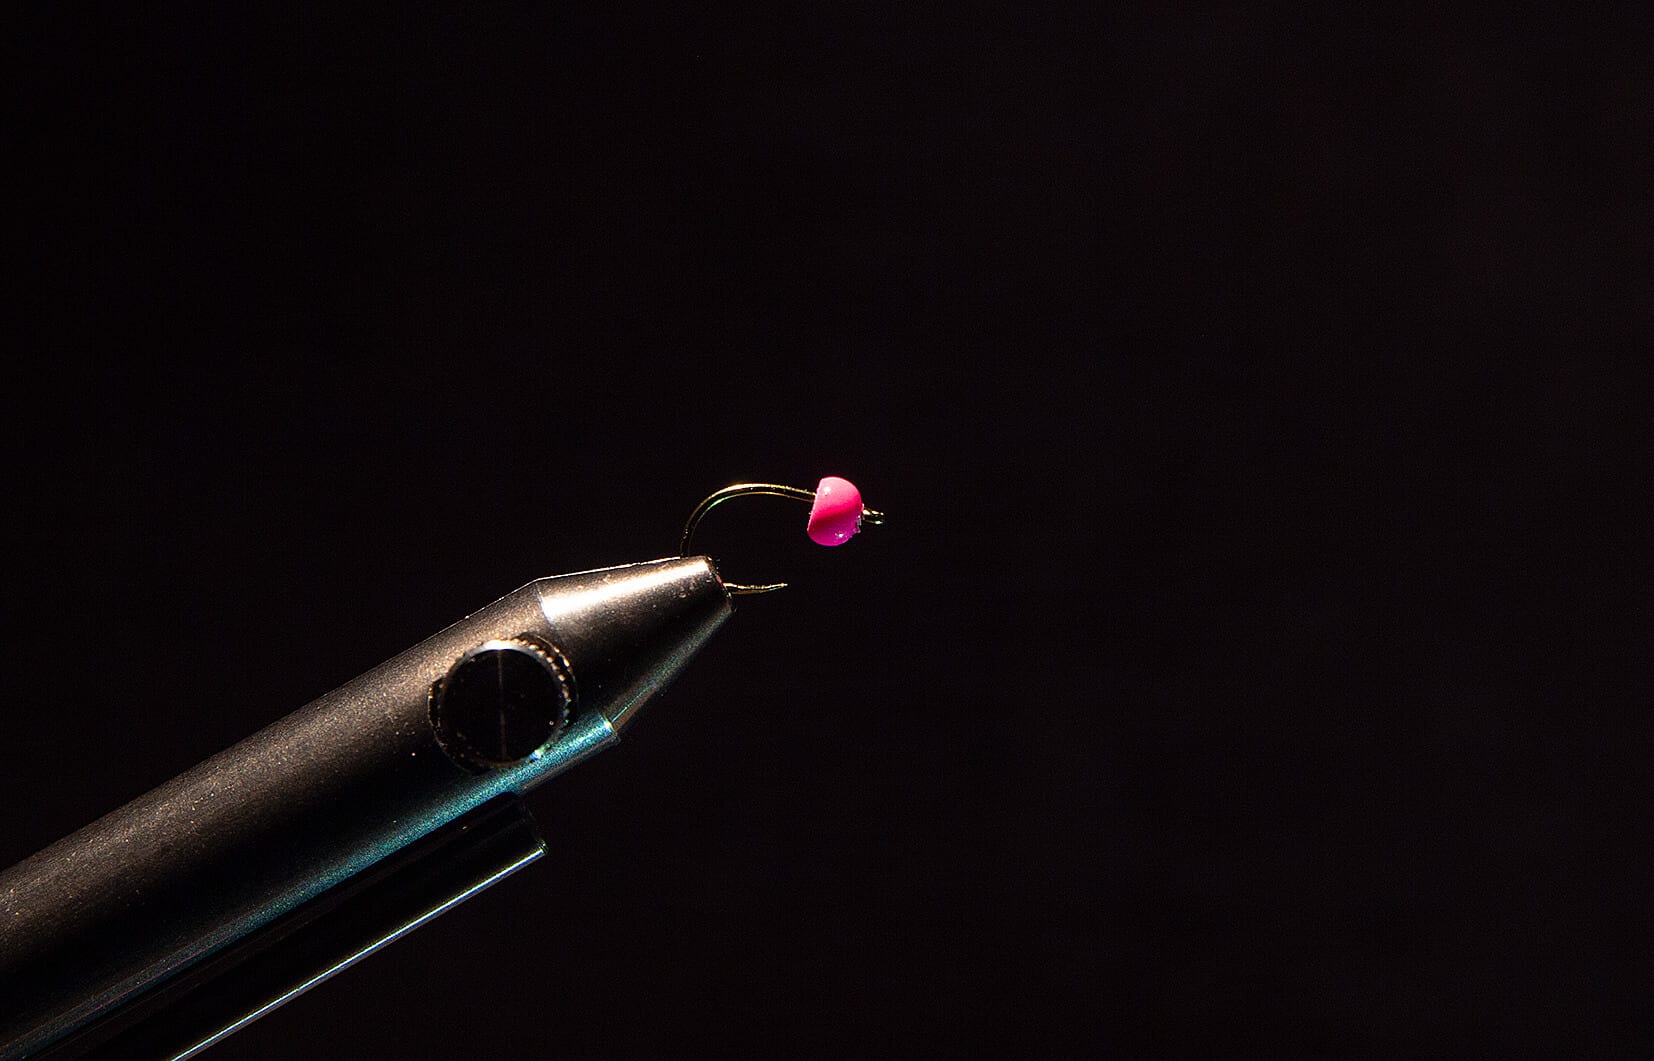 Step 1
2. Lay a clean basic winding and fix it at the front.
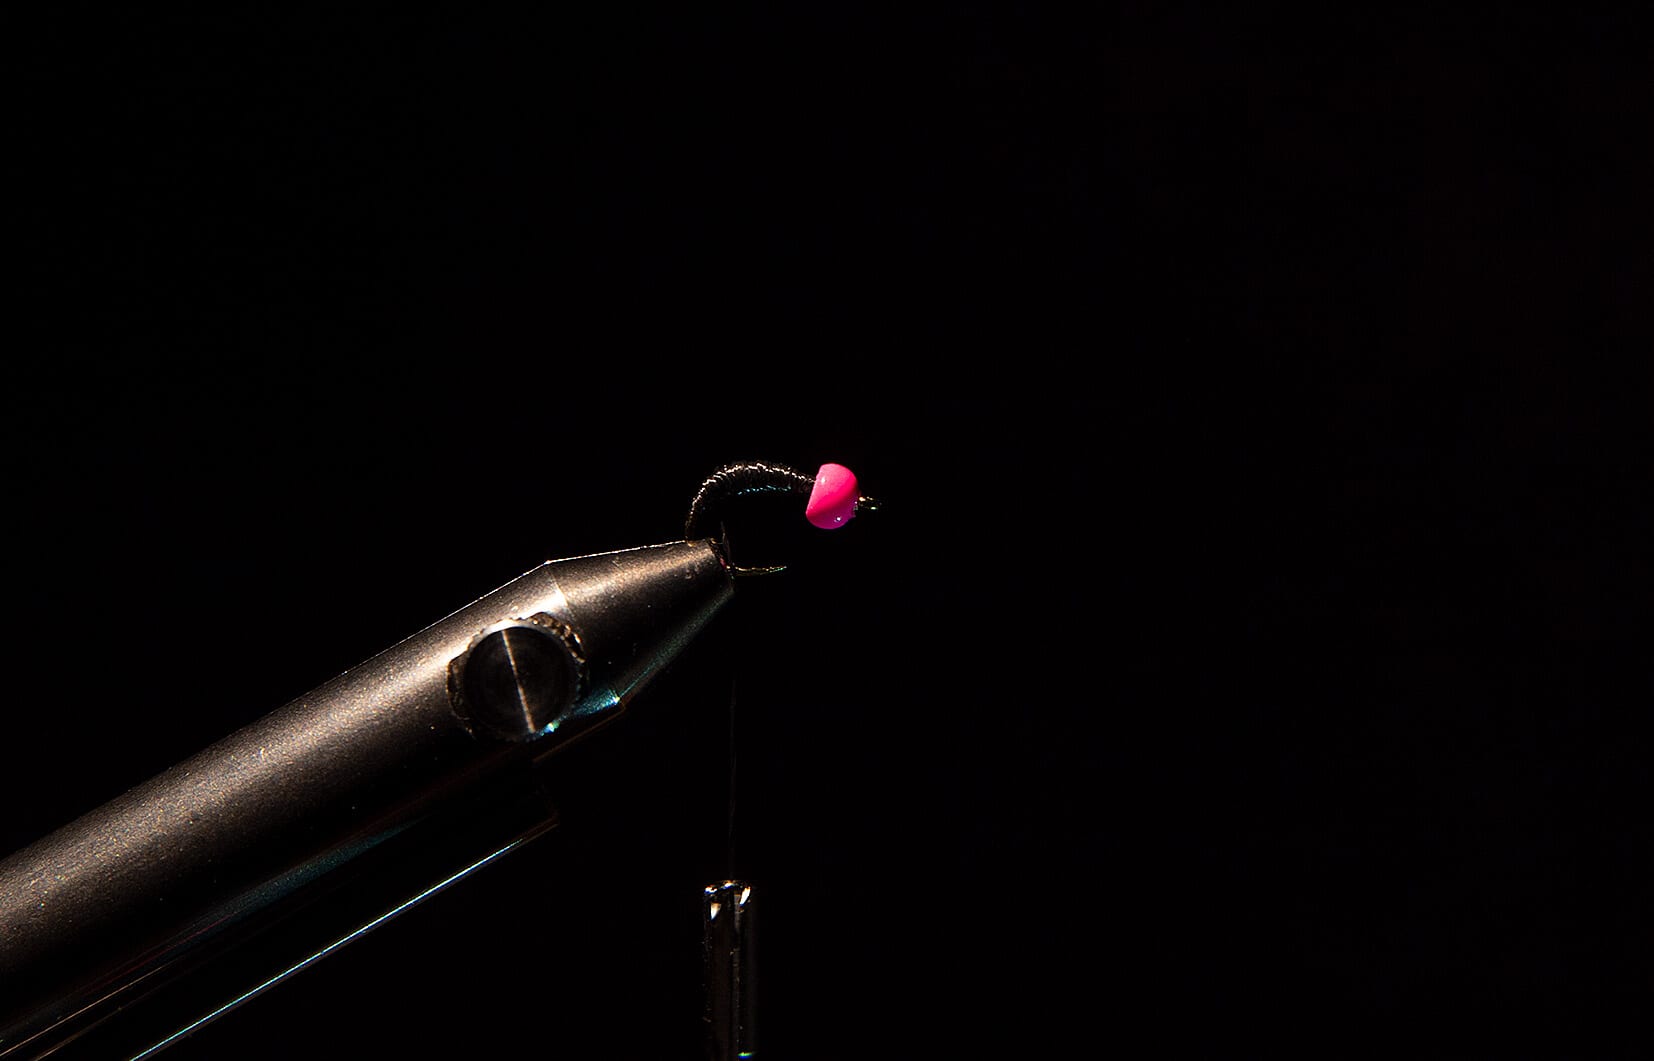 Step 2
3 . Add floss and wire.
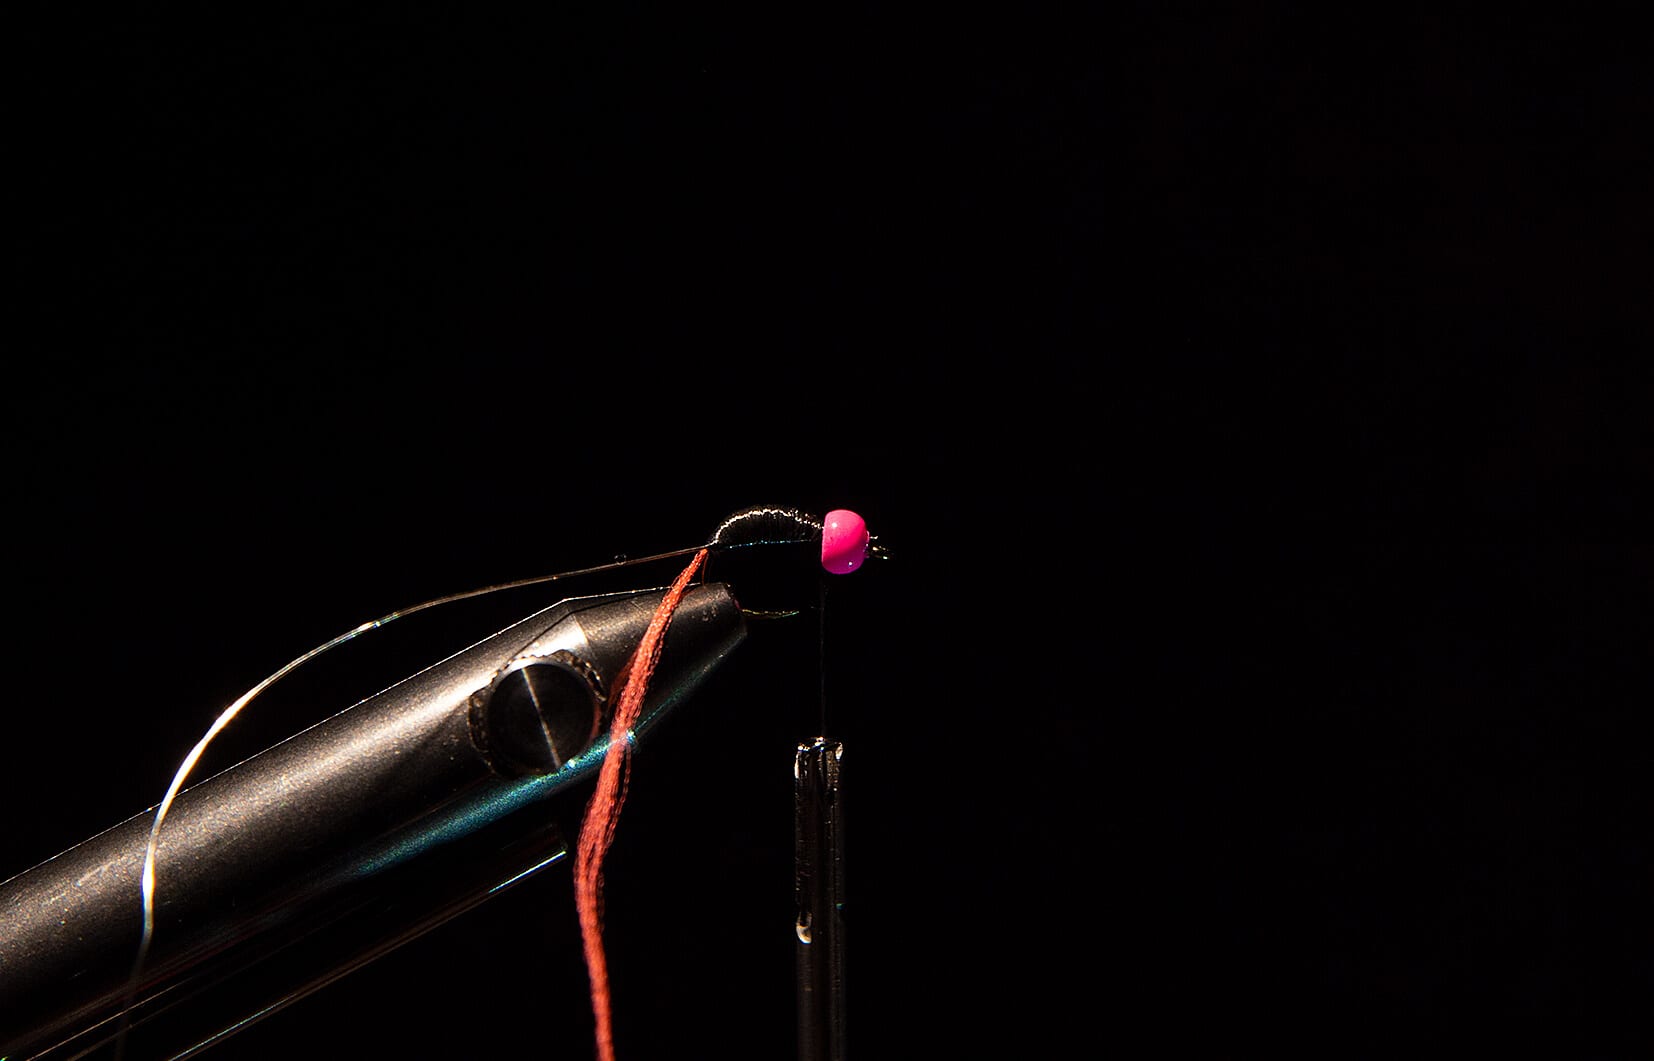 Step 3
4. Form the body out of the floss and fix it behind the bead. Depending on the size of the shank of the hook, the body can get more or less volume.
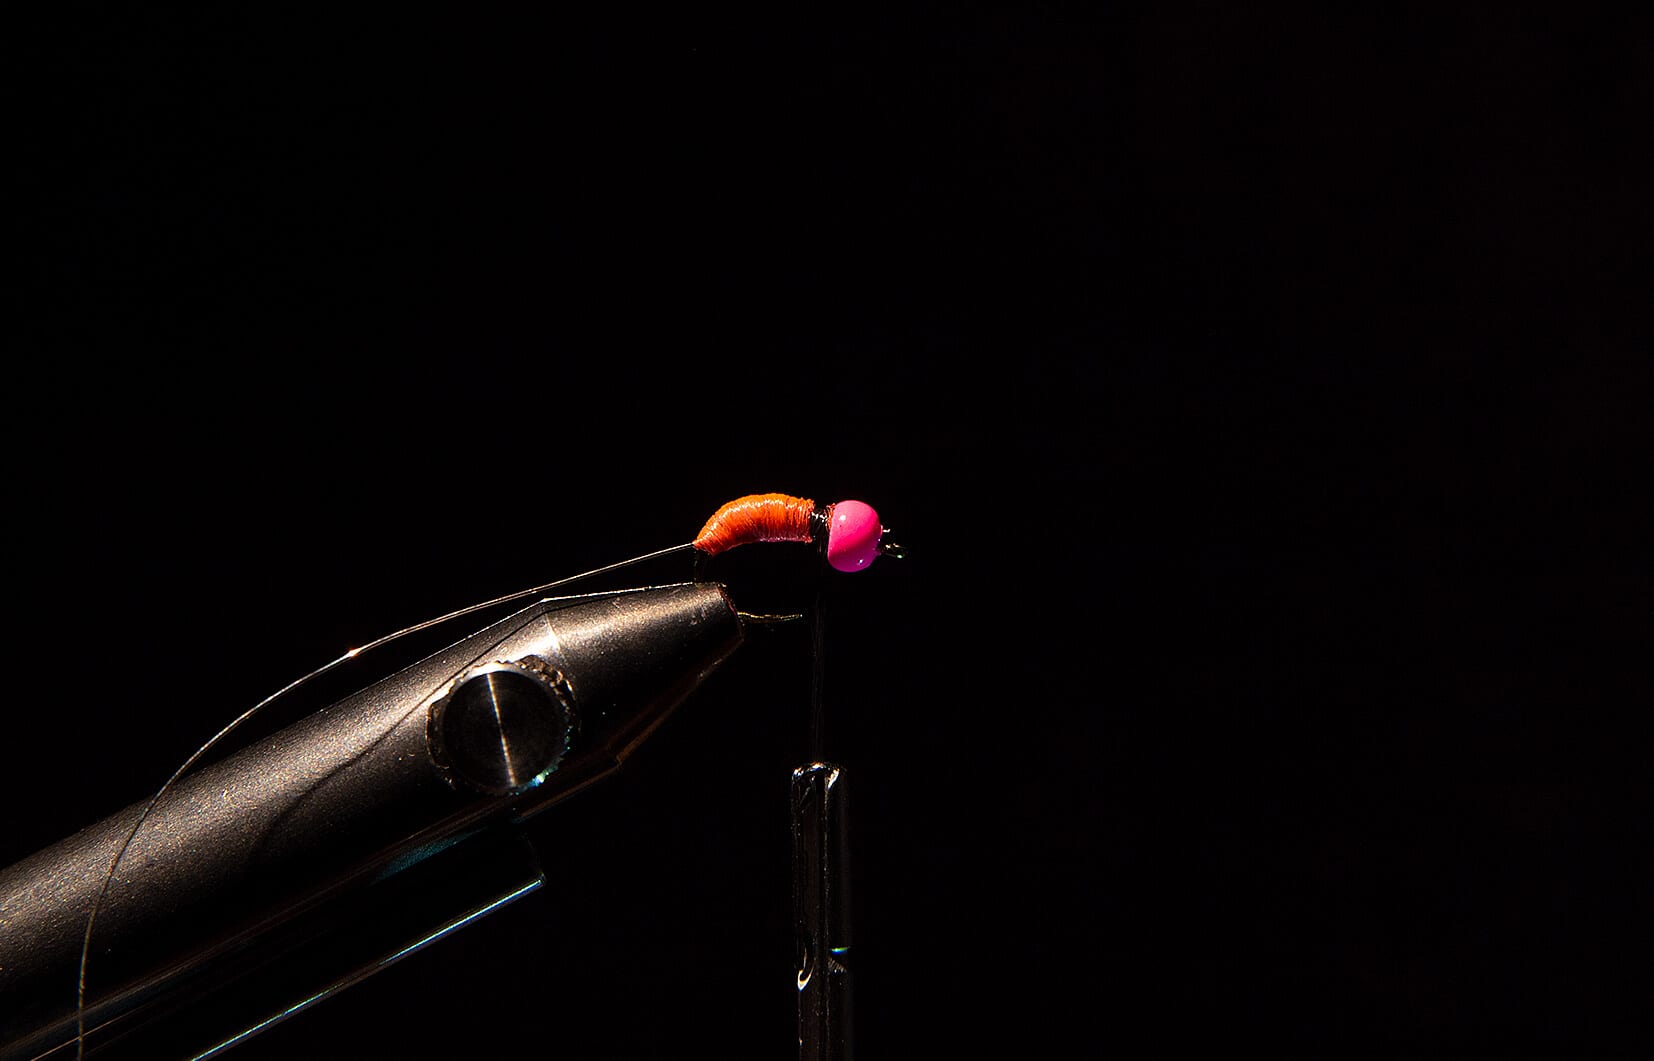 Step 4
5. Wrap the wire evenly forward. Best opposite to the winding direction of the floss. It stabilizes the winding of the body material additionally. If you like, you can further shape the nymph’s body with UV glue or Loon Hard Head.
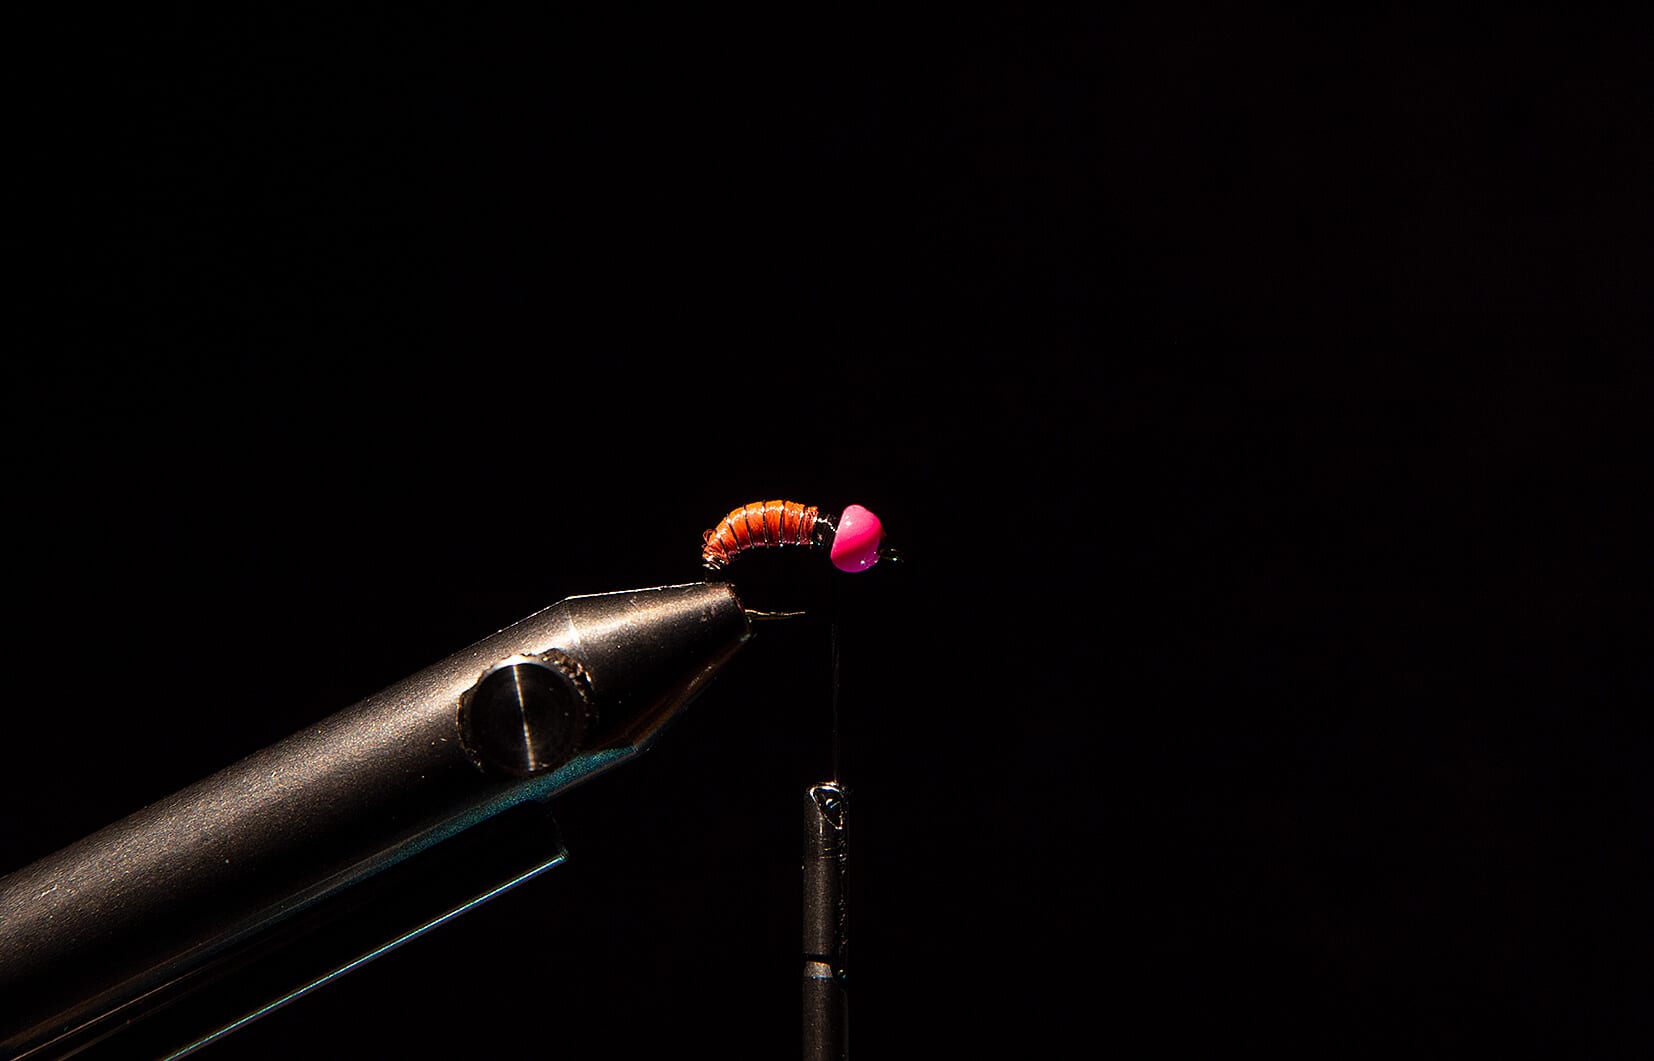 Step 5
6. Secure the winding with superglue.
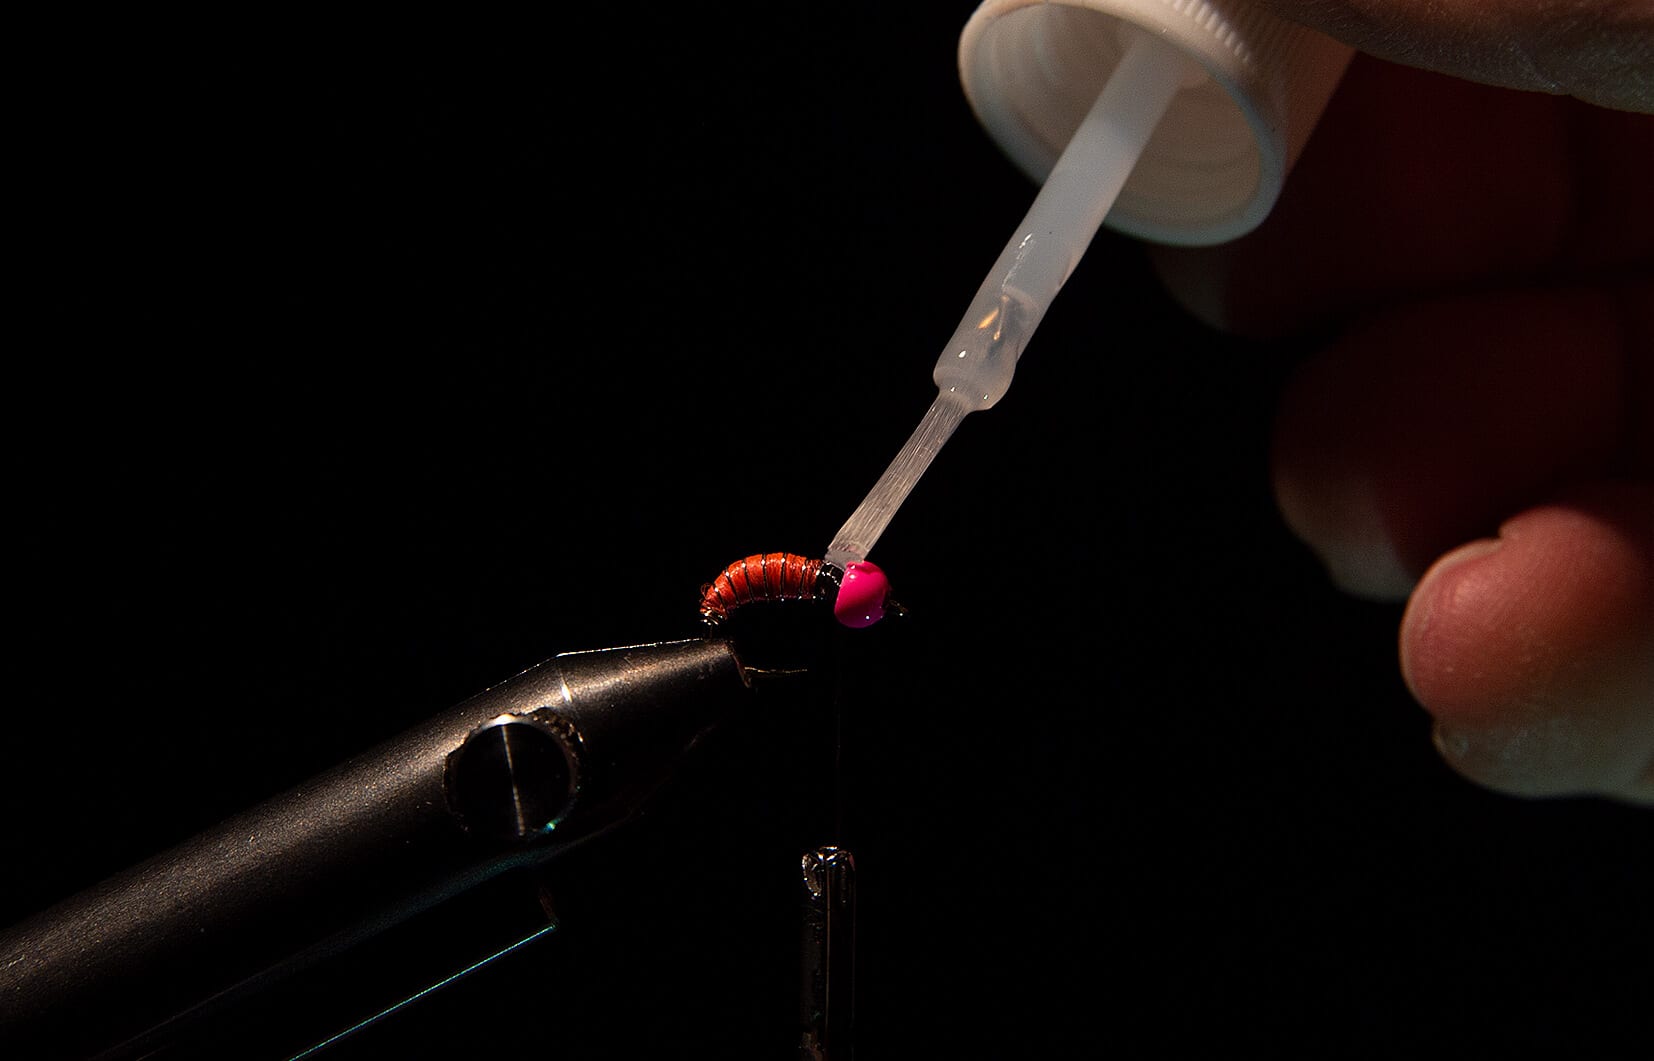 Step 6
7. Apply wax to the thread, this facilitates the work with the dubbing considerably.
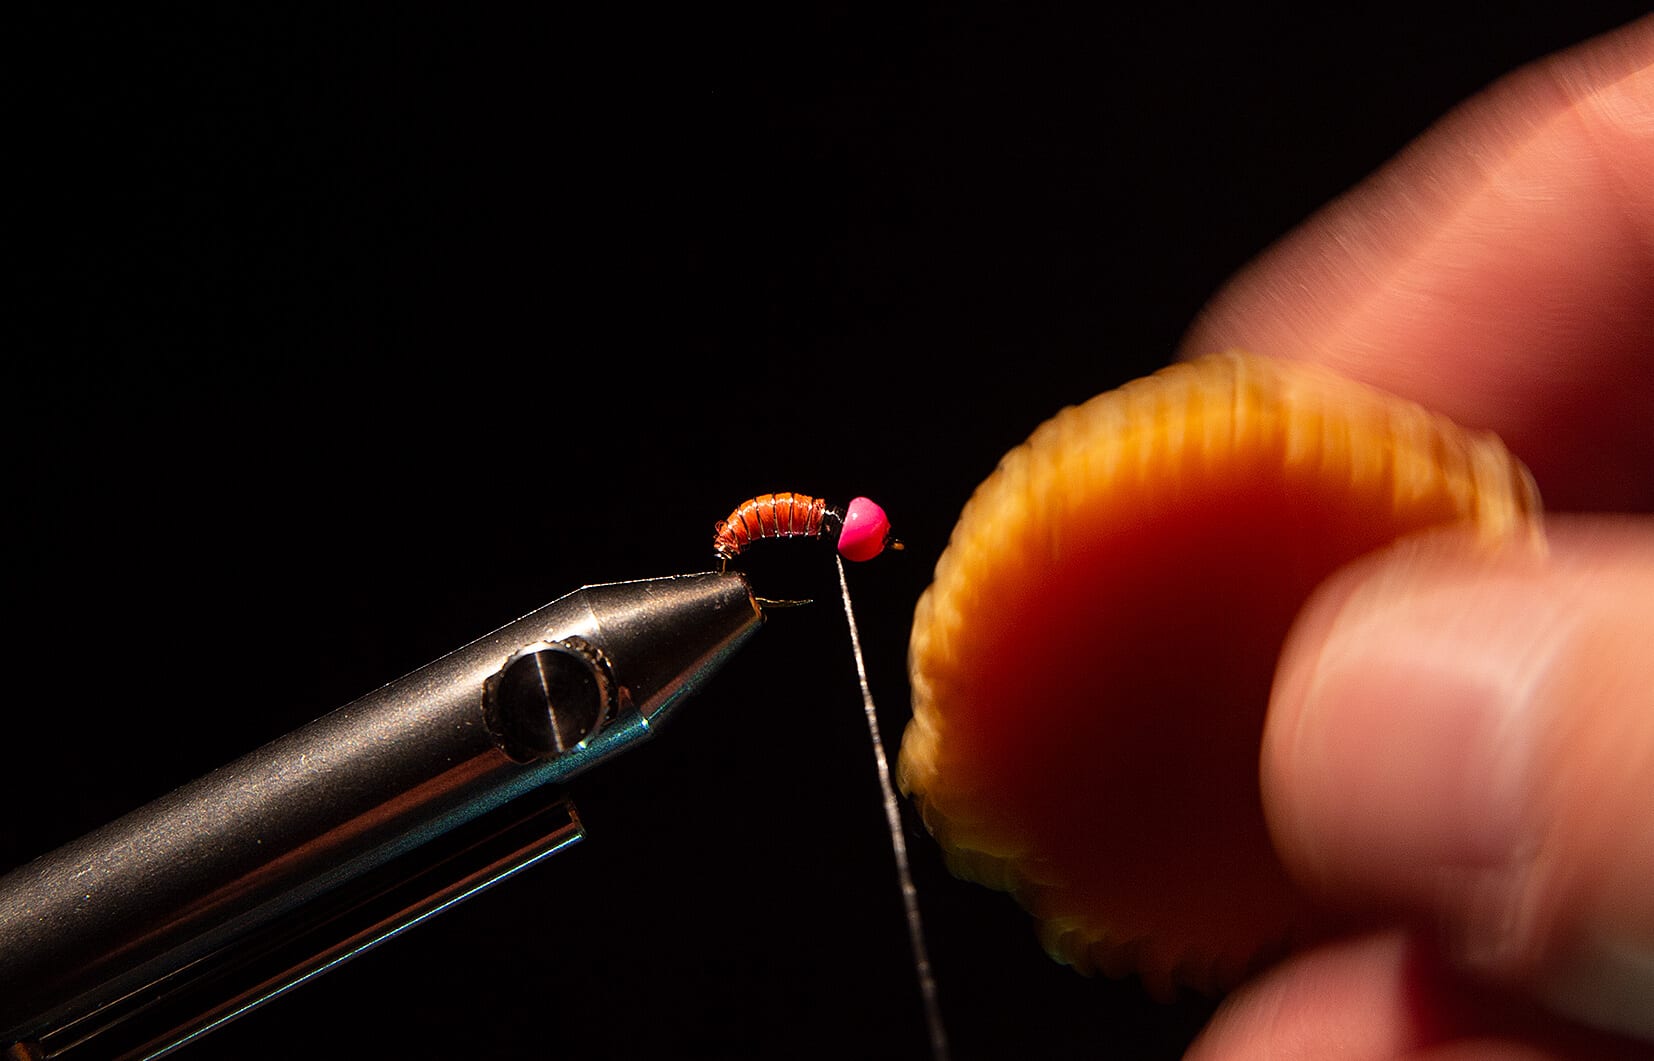 Step 7
8. Wrap the dubbing around the thread.
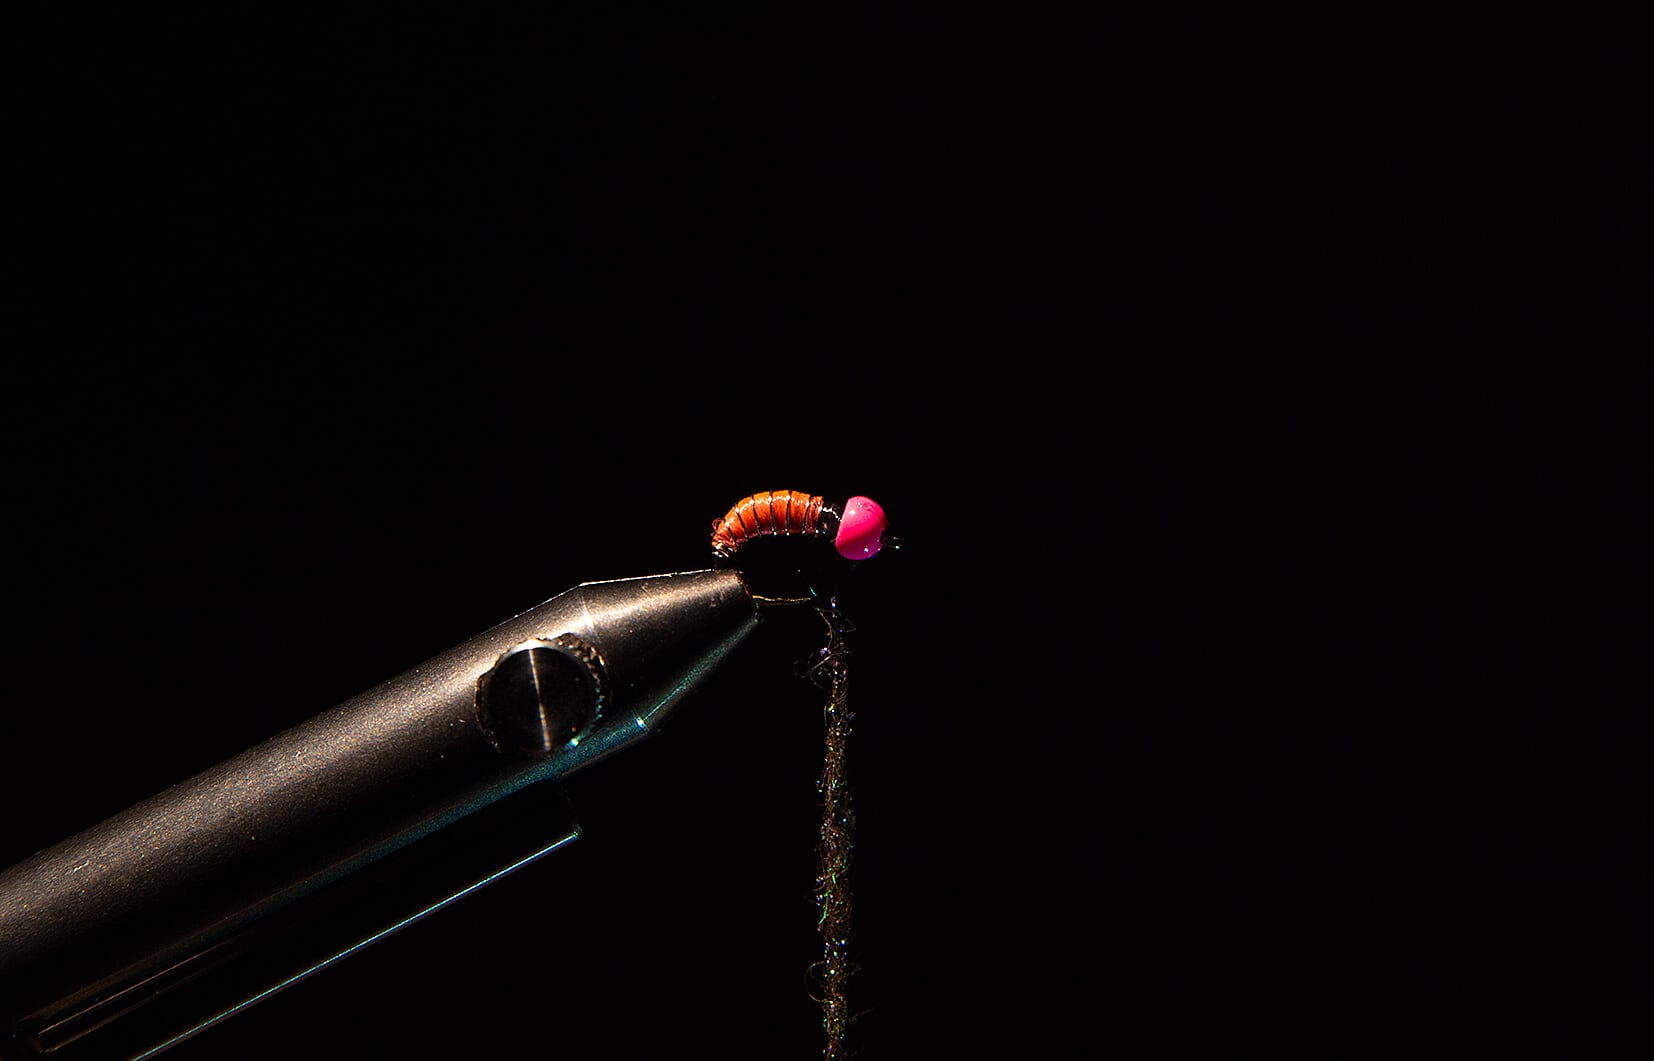 Step 8
9. Wrap the dubbing behind the bead around the hook, fix it with a final knot and you’re done. If desired, secure the knot with lacquer or superglue.
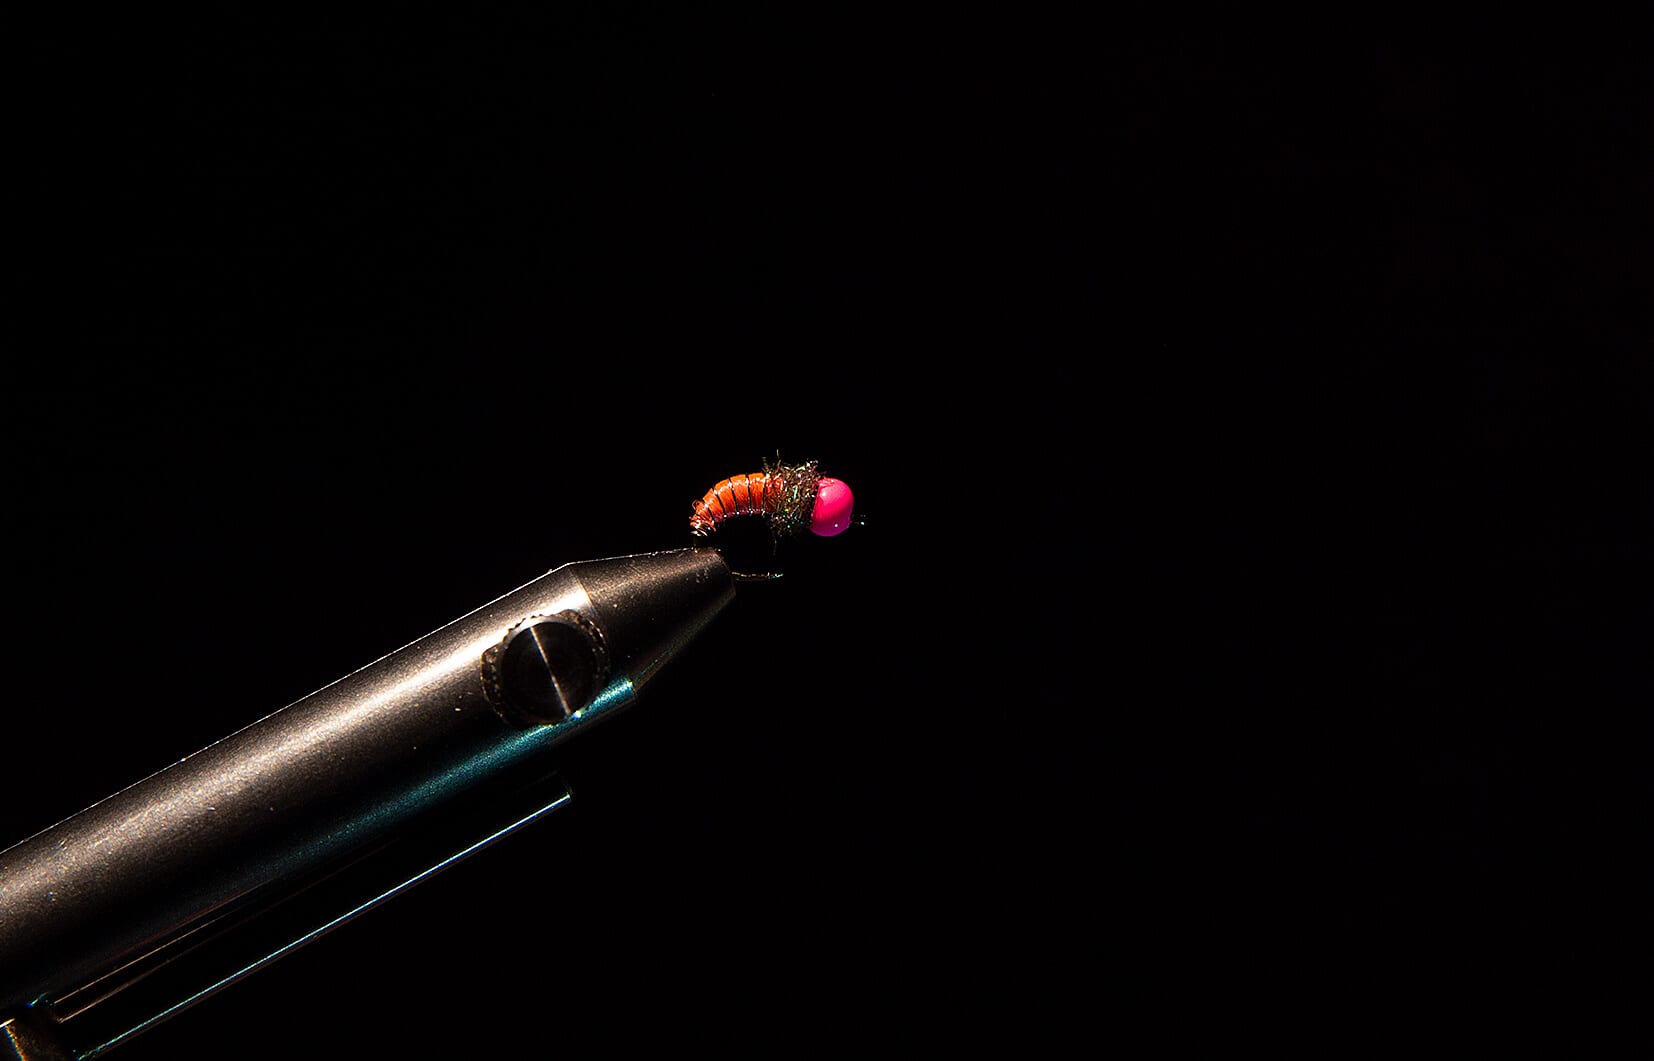 Step 9
10. Different variations of the fly fishing nymphs.
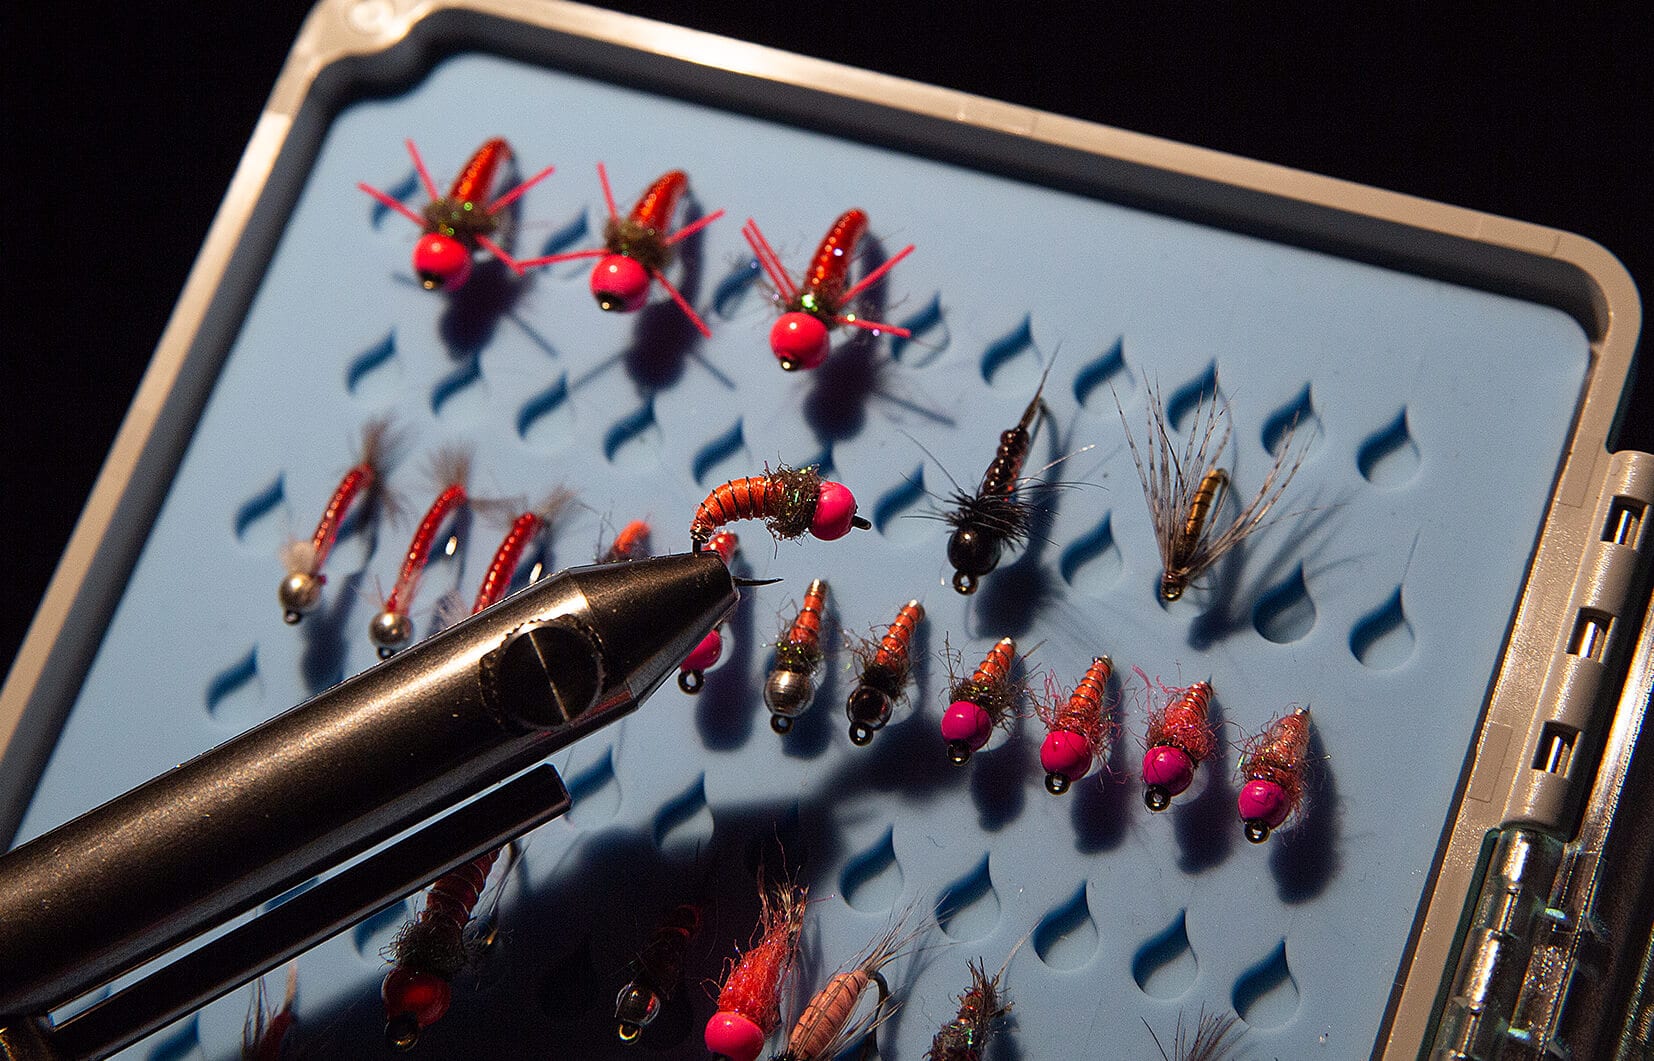 Different variations of the fly fishing nymphs
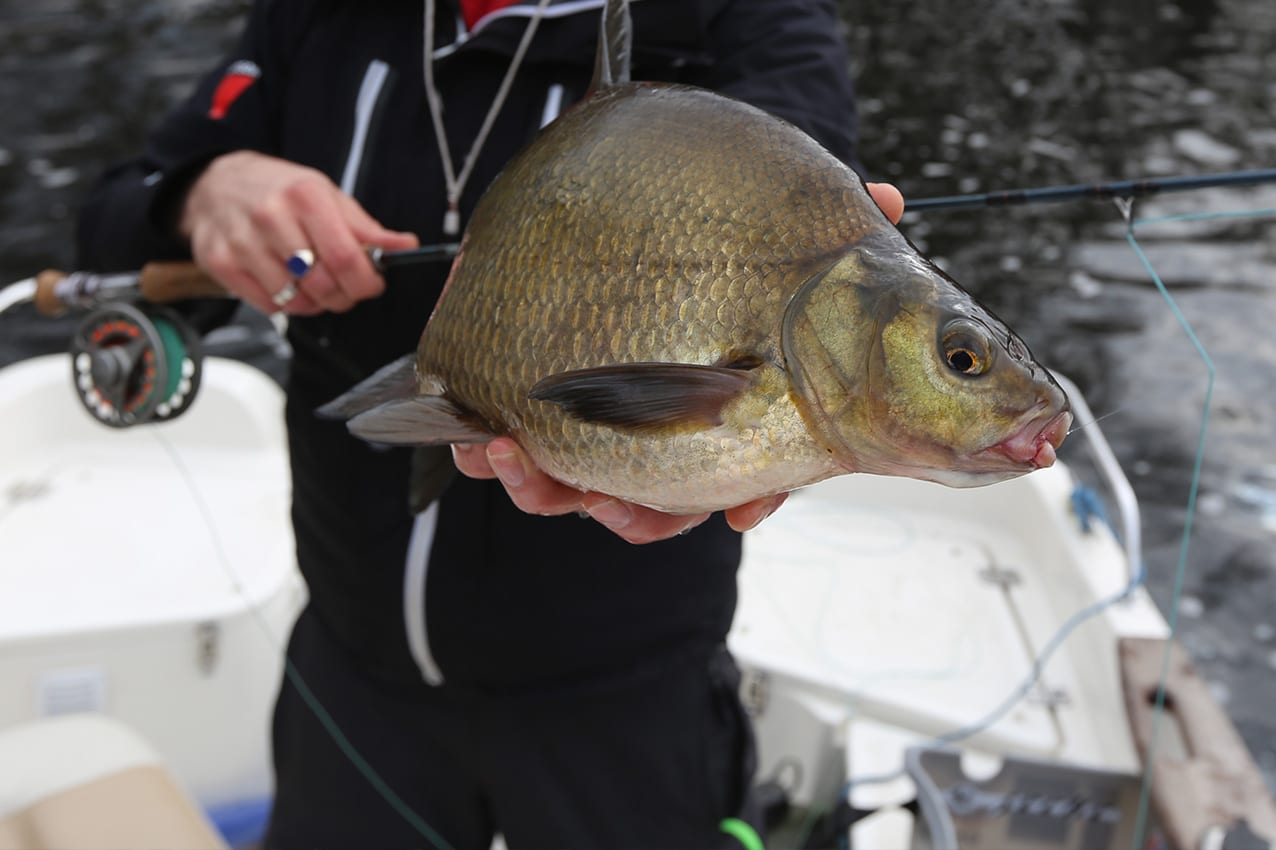 A common bream caught on the neon nymph
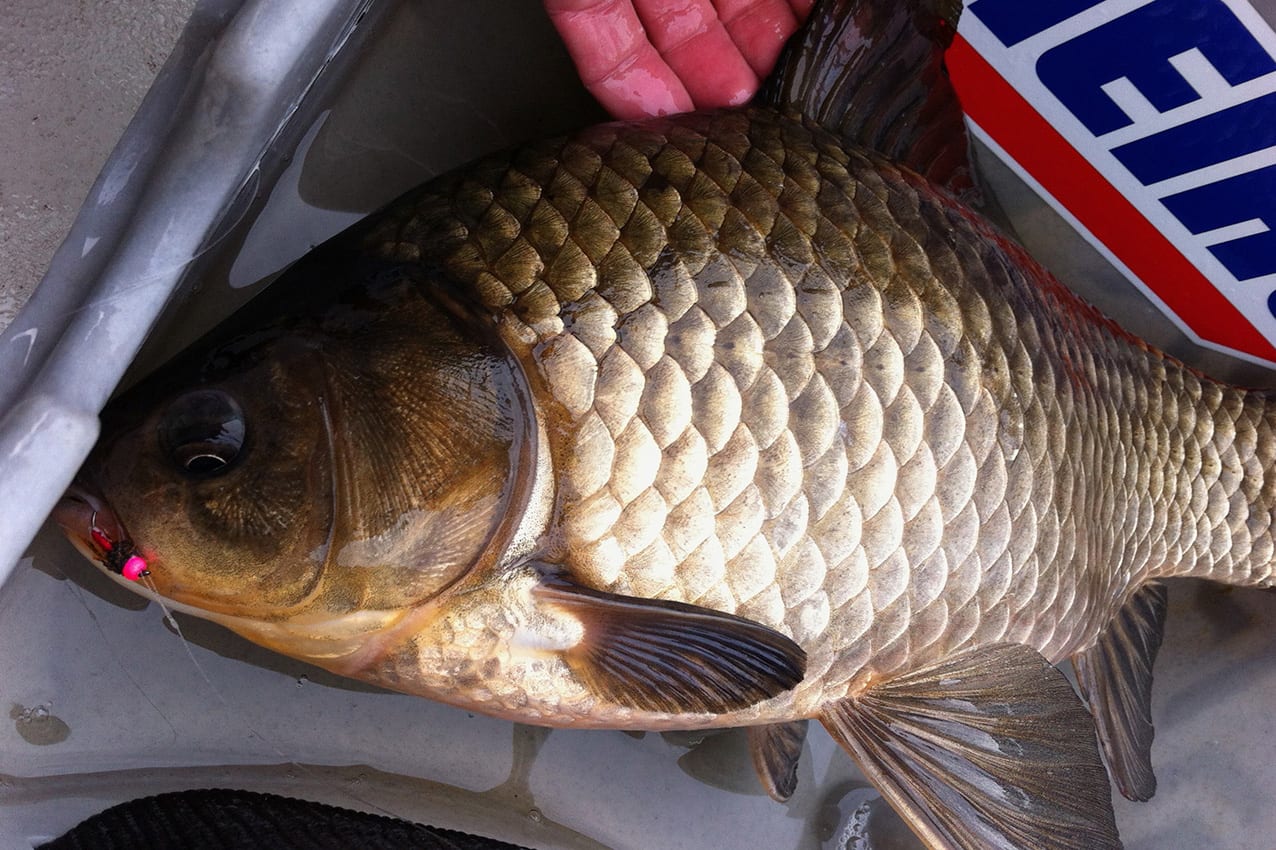 Crucian carp caught on the neon nymph
Check out more of Rainer’s work here:
“A Simple and Effective Sandeel Fly Pattern”


