Last updated on January 10th, 2024.
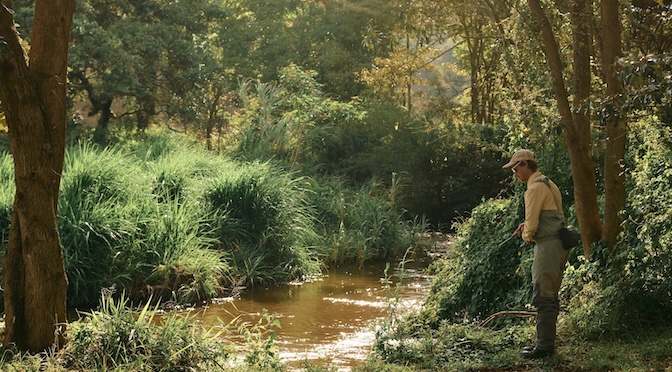
I have been a fly fisher for more than a decade now. A few years back the thought of building my own tackle crossed my mind for the first time.
Most fly fishermen probably start with tying flies. Although that was something I have been wanting to try for some time it hasn’t happened yet.
Last fall my friend Renato Vitalini of V Stick Custom Fly Rods in Scuol, Switzerland built a custom fly rod for me. It is an amazing two handed rod to fish for hucho hucho. Although I knew I could never even come close to Renato’s craftsmanship I was intrigued to try building my own rod.
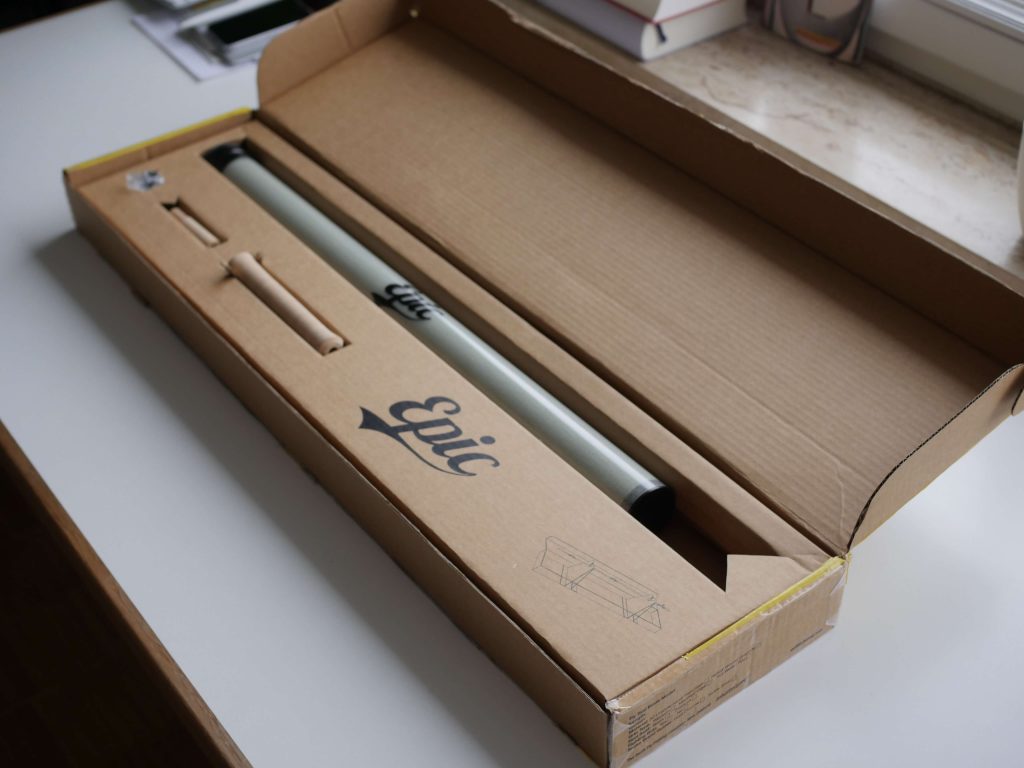
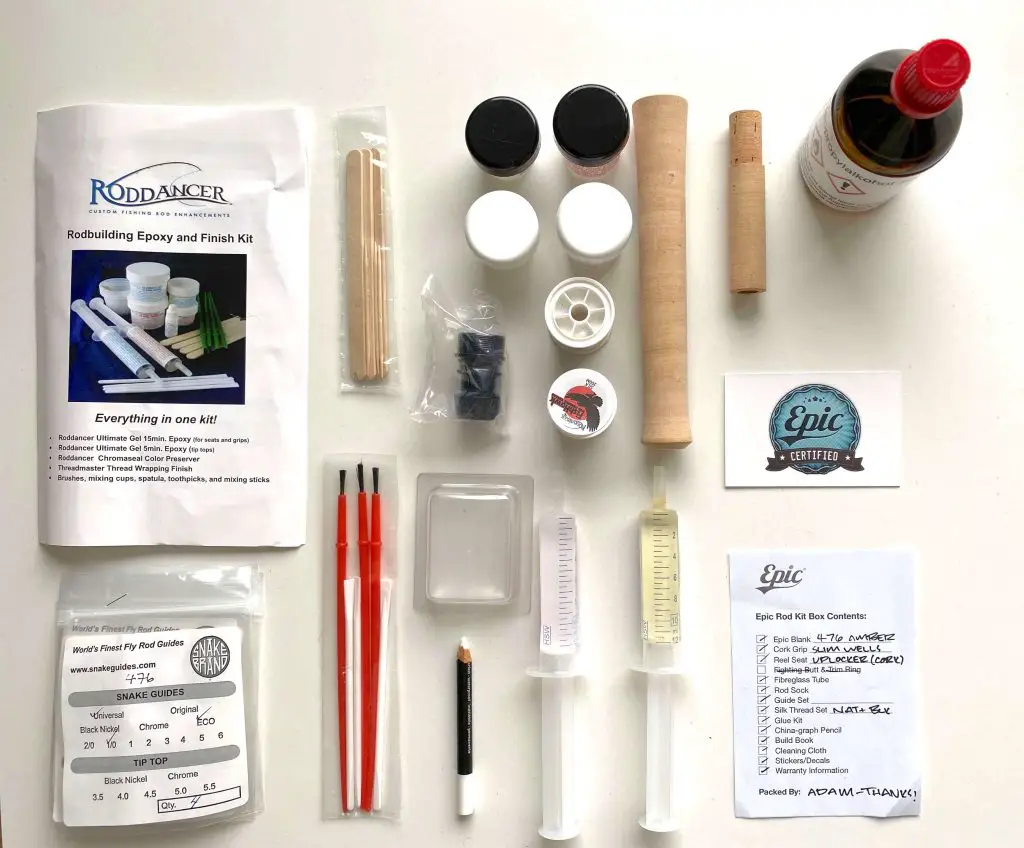
I got in touch with Carl McNeil of Epic Fly Rods in New Zealand. Their rods had always been some of my favorites and one day, browsing their online store, I discovered their rod building kits. They seemed perfect for someone with absolutely no experience in rod building. Carl quickly offered to send me one of their kits to give it a try. The parcel arrived only a few days later. Due to other projects it took me a few months and a global crisis to find the time to finally start building the rod.
Learnings from Building a Fly Rod
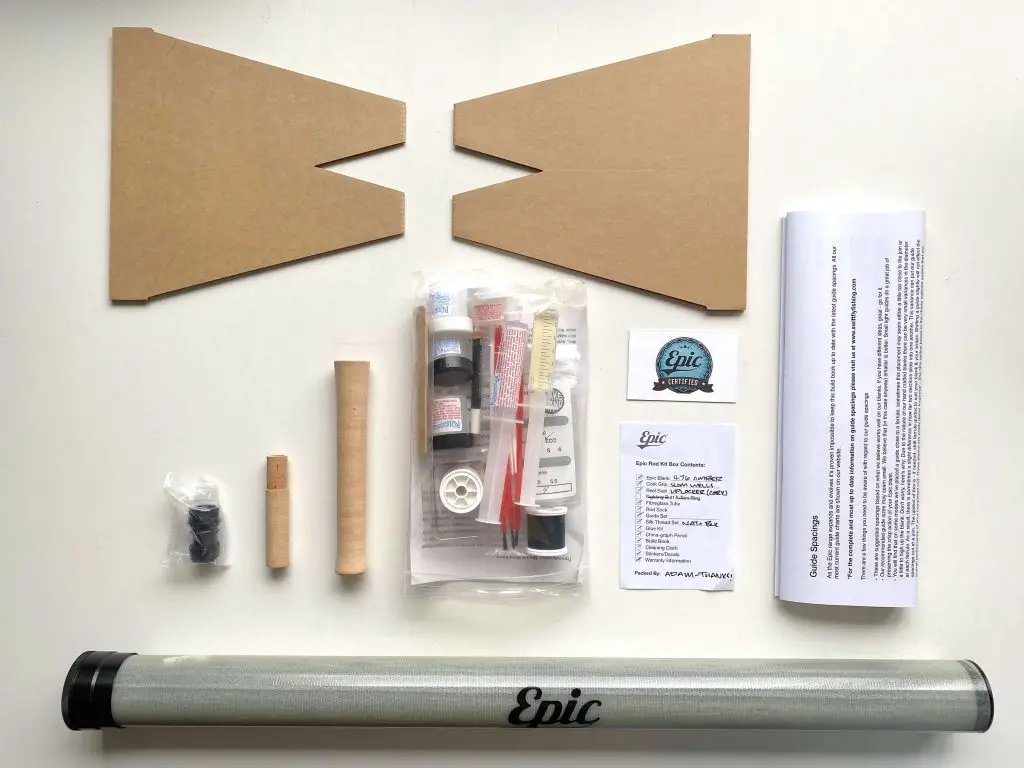
Together with a friend I decided to use the time of quarantine to build this #4 fiberglass rod. Rather than give you a detailed how-to (there is an excellent guide book that comes with the Epic rod building kit and a great video tutorial) I want to explain what we learned from building a rod for the first time. Also, I want to let you know what I wish I had known before building my first own fly rod.
What you Need to Know when Building an Epic Fiberglass Fly Rod
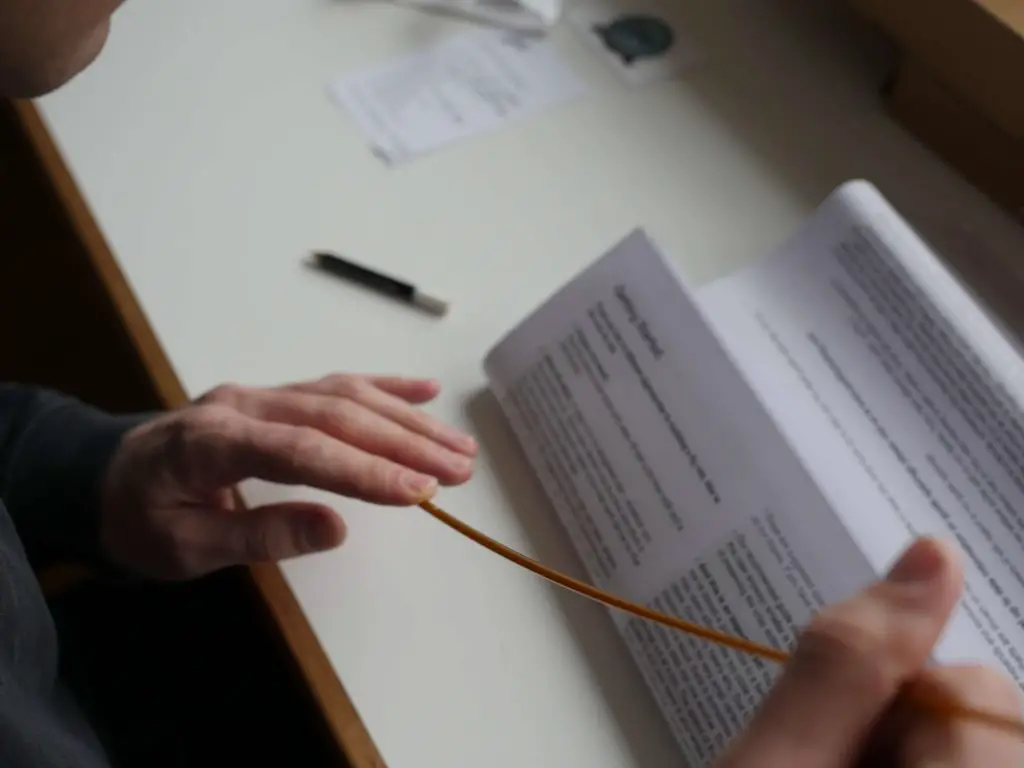
In my eyes the first thing you should do when you open the fly rod building kit is to read the guide book all the way to the end. It might help you consider getting a fly rod turner and drying motor. Epic offers one in their online store and it would definitely be a good decision to get one. Otherwise you will spend quite a bit of extra time on manually drying your rod.
Another useful tool not included in the rod building kit is a fly tying bobbin. If you tie your own flies already, chances are you own one. If not, you should definitely consider spending an extra $10 – $30 to get one. It makes the wrapping process a lot easier – believe me.
Other useful things to consider getting/preparing before starting the rod building process:
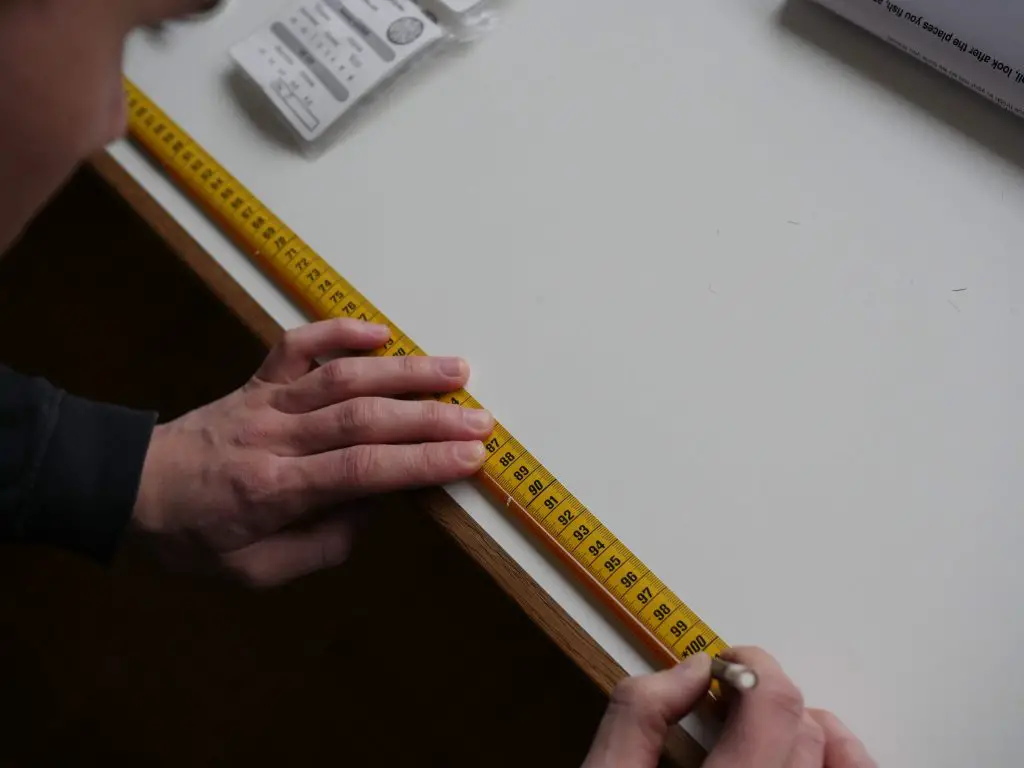
– A tape measure (to find the right spots for the guides)
– A roll of masking tape
– Small bottle of denatured alcohol
– A razor blade or very sharp fine bladed craft knife (for cleaning up the wraps)
– Some medium grid sandpaper
– Set up your wrapping stand in a nicely lit place with some space. Consider choosing a place where you can build the rod for at least 48 hours.
Timeframe for Building a Fly Rod
Another aspect that would have helped us before starting to build the rod would have been a rough time frame. Of course it depends on your skills but a vague estimate for beginners would have helped. In my opinion you should set aside a weekend for building a rod for example. Starting on a Friday night, chances are high your rod will be finished by Sunday. That doesn’t mean you will be working non-stop for 48 hours. But the rod building process requires some breaks for the glue to dry or the coat to soak in and dry.
In the following paragraphs we want to give you an overview of the steps involved in building your own fly rod. As mentioned before there is a complete video tutorial embedded at the end of the article. This overview shall give you a feeling for the process of building a fly rod. The guide book that comes with your Epic rod building kit explains each of these steps in every little detail – so don’t worry.
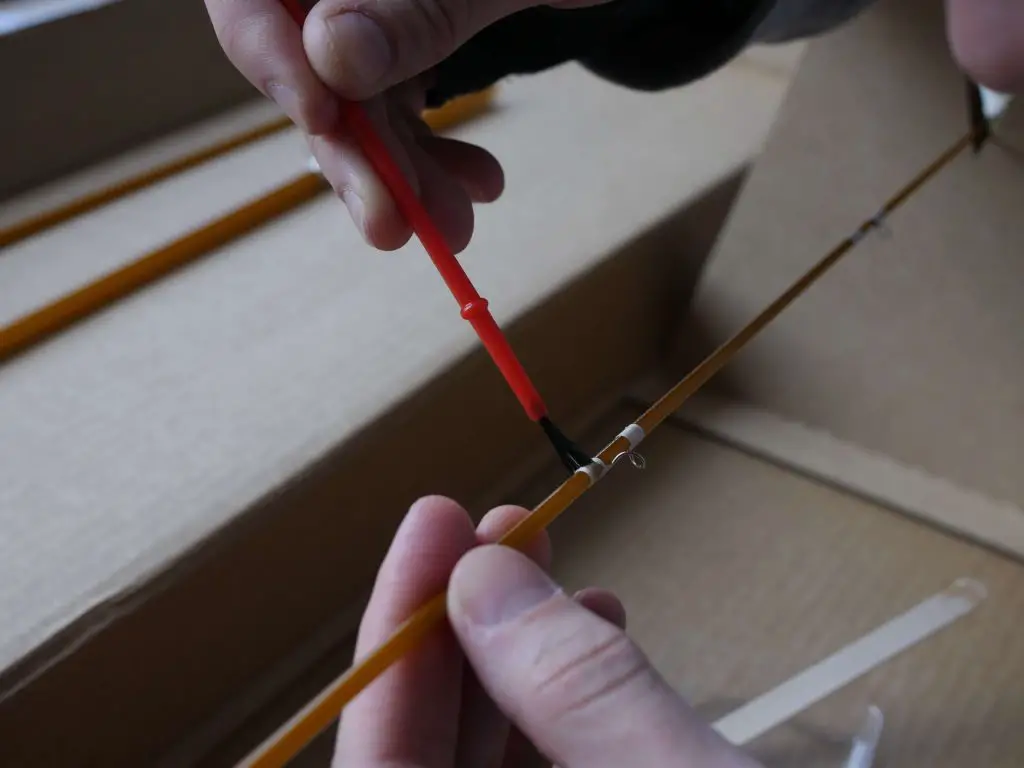
Spining your Fly Rod Blanks
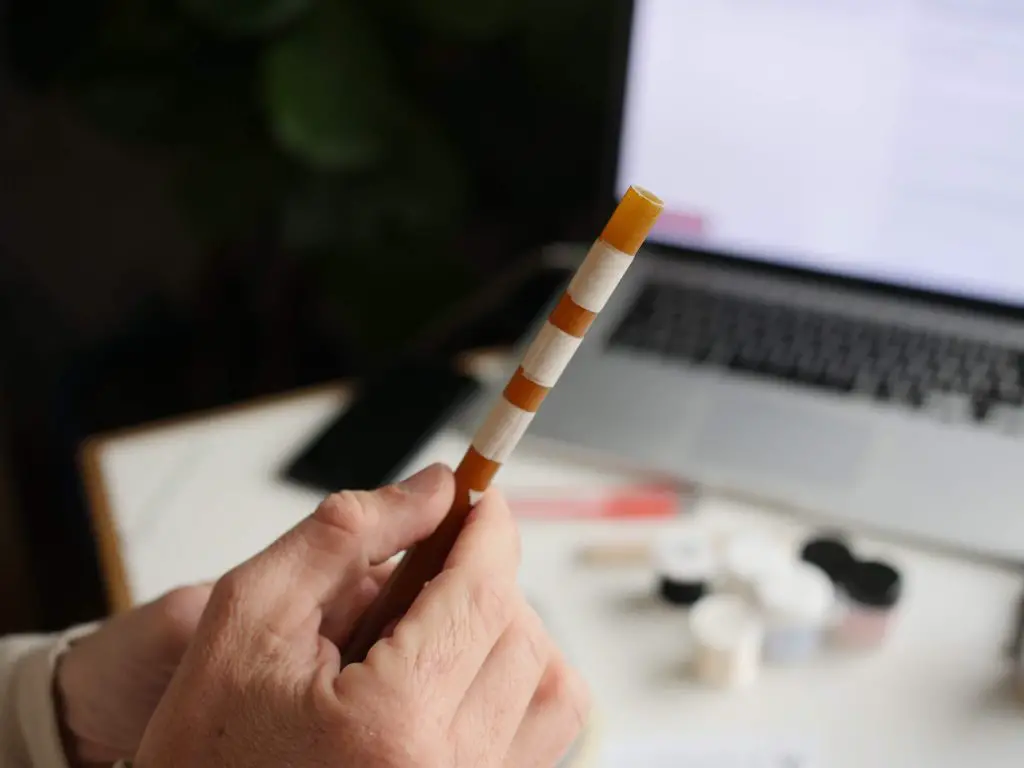
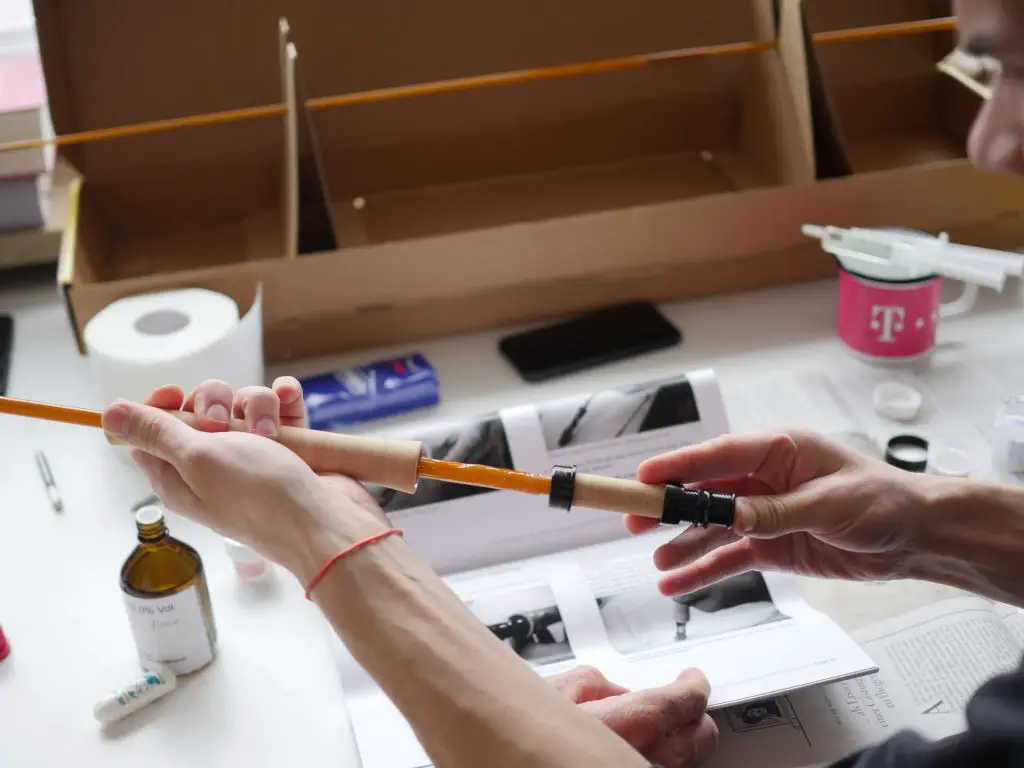
Before starting the rod building process I had never heard of the term “spining”. Fly rod blanks tend to naturally bend more in one direction than another. The underlying effect behind this is called “spine”, hence the term spining. Often fly rod blanks have more than one spining option.
The spine results from the manufacturing process of fiberglass fly rods. It is a slightly thicker section in the tube wall of the fly rod blanks. This section is a bit stiffer and hence presents a greater resistance to bending. In order to find the spine in your fly rod blanks you hold the blank at a 45 degree angle with one hand near the tip and press down and rotate at the same time with the fingers of your other hand (see picture above).
It make take a moment until you feel the differences, especially since your fly rod blanks might have several spining options. The guide book describes this entire process very well. Also, you can’t go wrong when spining your fly rod blanks. Some people question the process of spining all together. Once you found your spine mark it with the marker that comes with the rod building kit.
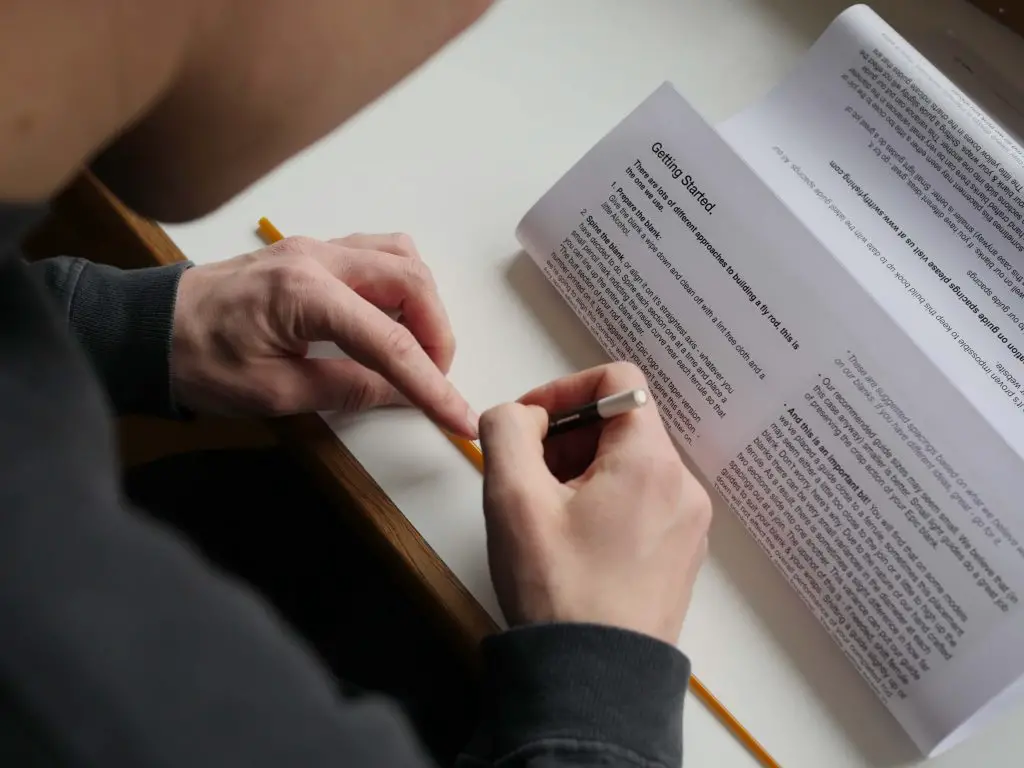
Marking the Guide Spacings on your Fiberglass Fly Rod
Defining the spots of the guides on your fly rod blank is pretty straightforward. Lay the blank on a tabletop, take the guide spacing chart found in the booklet and mark your fly rod blanks accordingly with the provided marker.
Measure and Mark the Cork and Prepare for Glueing
The first step here is to slide the reel seat and the cork grip onto the fly rod blank. Mark the place where the top of the grip finishes. This is a crucial mark since you cannot sand or glue the blank past this mark. Next you scuff the blank with sandpaper from this mark downwards to the end of the blank. This makes for a better glueing surface.
Once you’re done with that mark the reel seat position. For that align the rear of the reel seat with the blank’s bottom and clearly mark the position at the top of the reel seat. You need to shim the blank with masking tape up to this point in order to ensure a snug fit of the grip.
Wrap three pieces of masking tape around the grip. To ensure a good fit place the reel seat and the grip on the blank. Make sure to leave enough room for the epoxy.
Start glueing the reel seat with a mix of the 15 minute epoxy. Take one of the spatulas that come with the kit and apply a thin coat to the reel seat arbor.
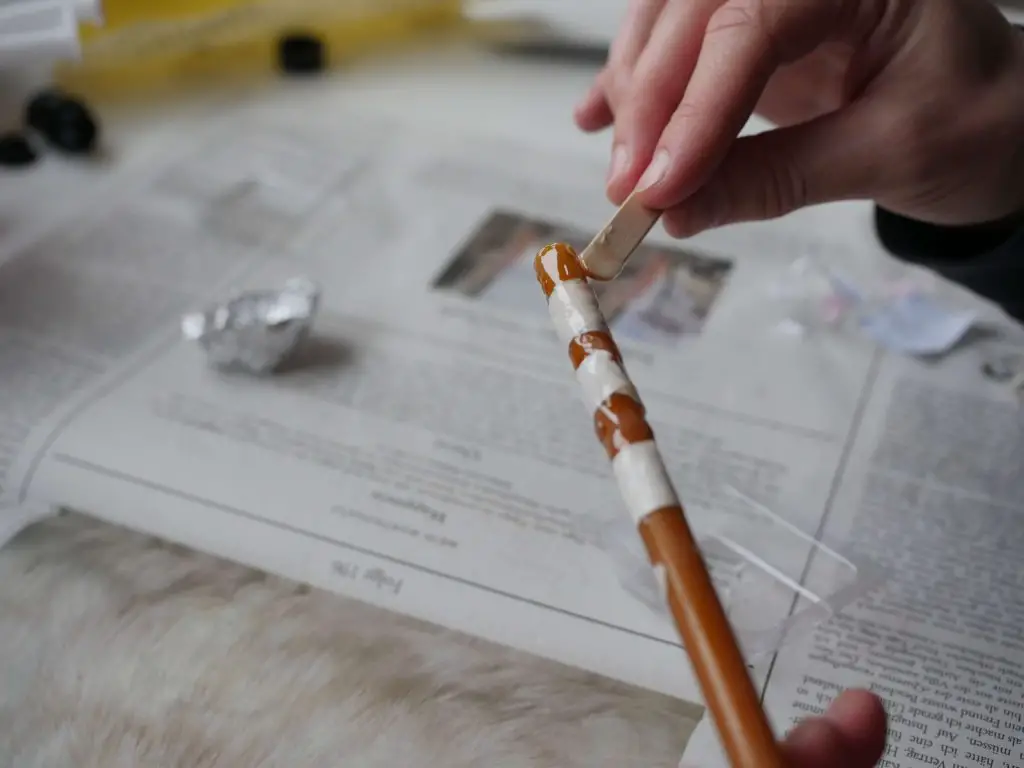
Slide the reel seat up from the bottom of the butt section. The bottom of the reel seat should be level with the bottom of the fly rod blank. Do not glue the end cap of the reel seat just yet! Continue by applying epoxy from above the reel seat all the way to the upper mark that indicates the end of the grip.
After that apply a little bit of glue to the outer walls of the reel seat inlet. Do not get any epoxy in the bore. If that happens take a Q-tip and remove the glue.
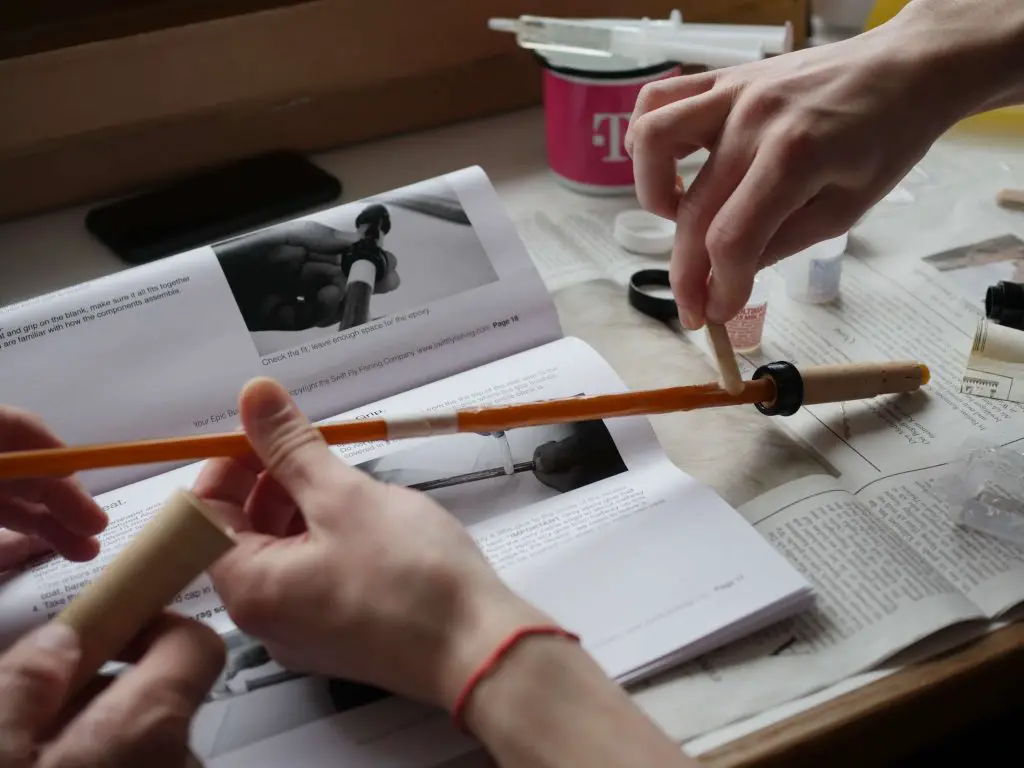
Slide the grip down the blank. Once you get to the glued section rotate the grip while slowly sliding it onto the reel seat. Mate the grip into the reel seat to ensure a snug fit.
To finish the glueing process take the end cap and glue it onto the bottom of edge of the reel seat. The last step is the alignment of the reel seat with the Epic logo above the grip. Depending on the model you chose the reel seat might feature a logo as well. That makes alignment easier. If there is no logo on the reel seat (as in our case) just align the slots of where the reel will be attached with the logo on the blank. Make sure to clean any excess glue with alcohol.
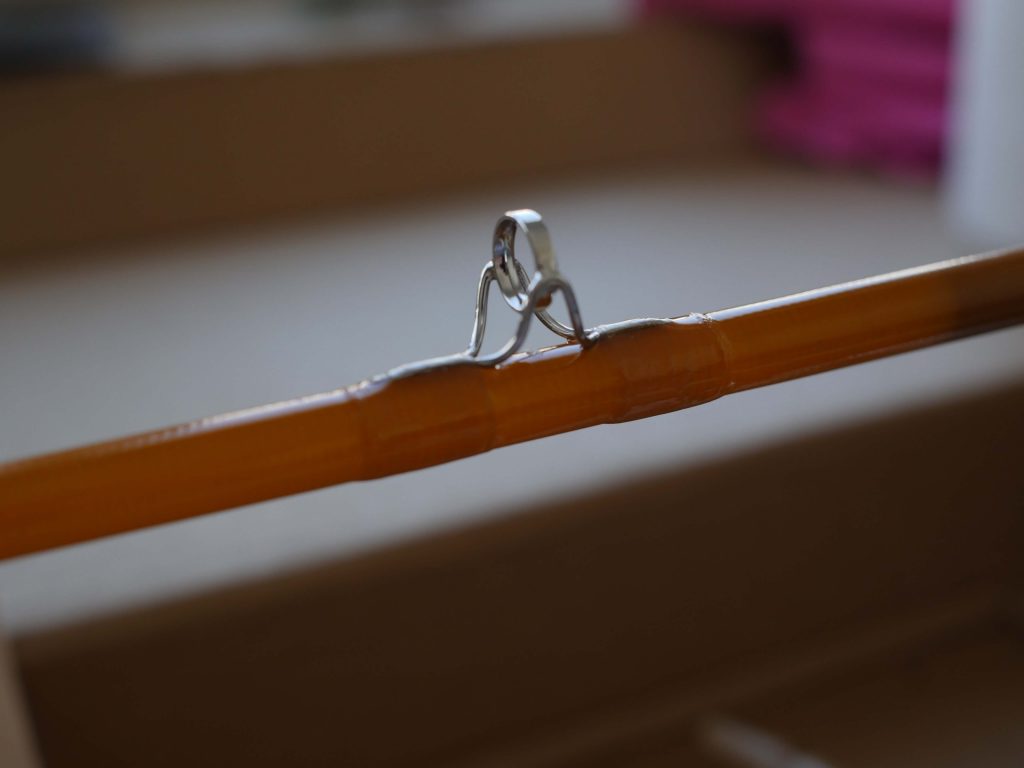
Wrapping the Guides of your Fiberglass Rod
Prepare the wrapping of the guides by cutting a number of small pieces of masking tape about 5mm wide. Take the snake guides and start taping them to the spots marked before. The largest guide is attached closest to the grip. Then they decrease in size all the way to the tip.

Take the bobbin (if you followed our advice to get one) and attach the white silk thread. If you don’t have a bobbin you can try to attach the spool of silk thread to the packaging of the rod building kit with a toothpick for example. It works but the bobbin prevents the thread from twisting and makes wrapping a lot easier.
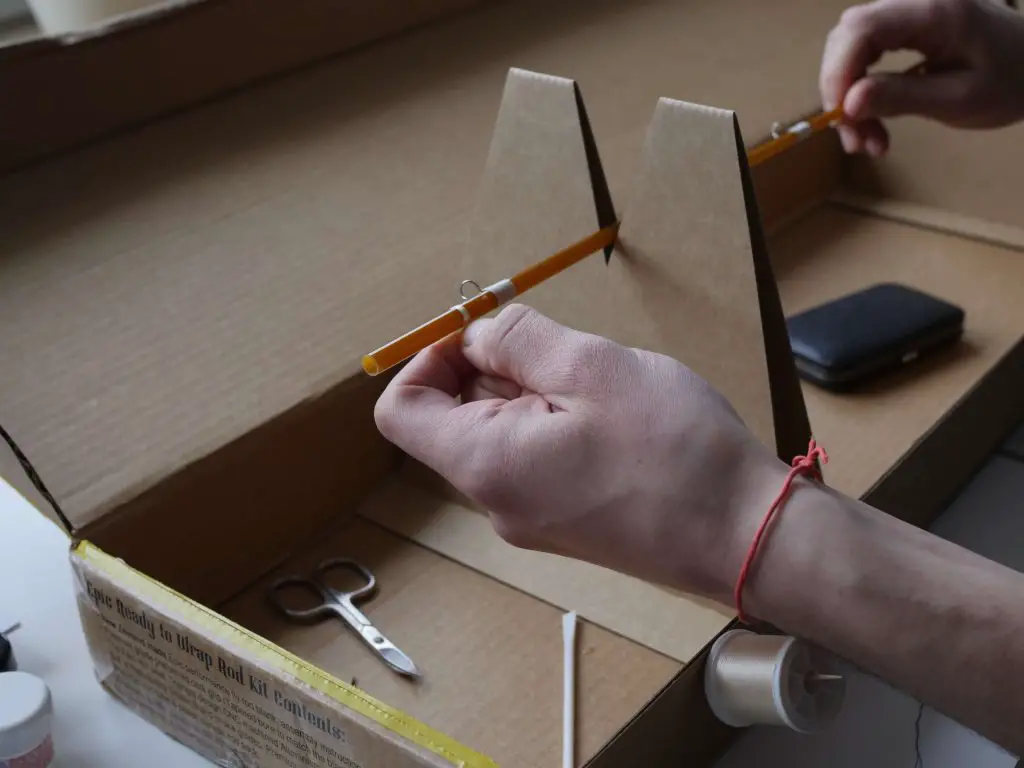
The part that follows is the most time consuming since you have to wrap about 8-10 guides (depending on your model). The wrapping process is explained in great detail in the guide book hence we will not go into detail here. It will take a couple of hours to wrap all the guides.
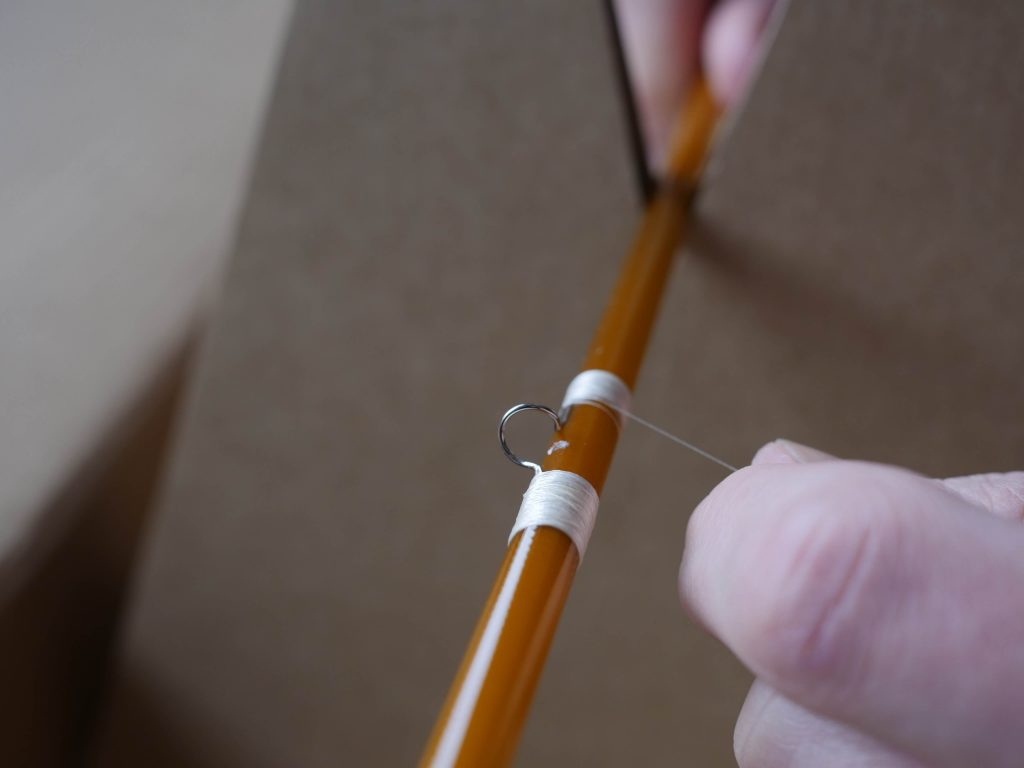
Just a word of advice: don’t wrap too tightly as that will make the final guide alignment difficult. It will also hinder the finish from fully penetrating the thread. Also don’t forget to wrap the ferules in the end. Once you’re done with wrapping the guides you have to align them. If you didn’t wrap too tightly that should not be a problem. After aligning the guides, glue the tip to the top end of the blank.
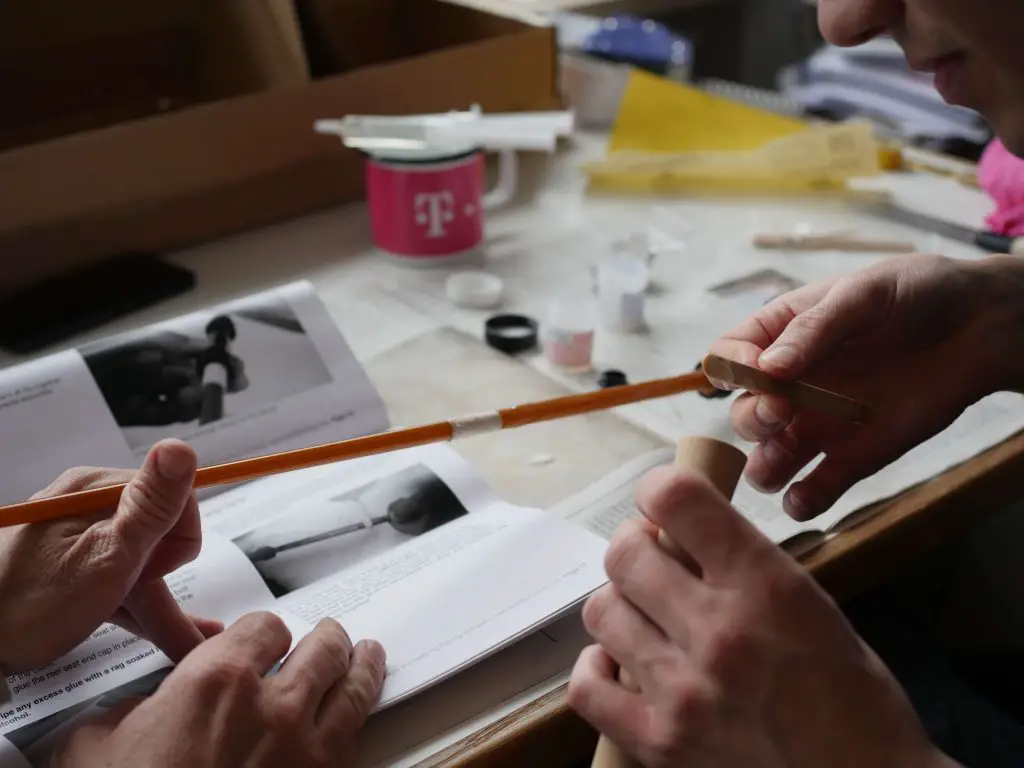
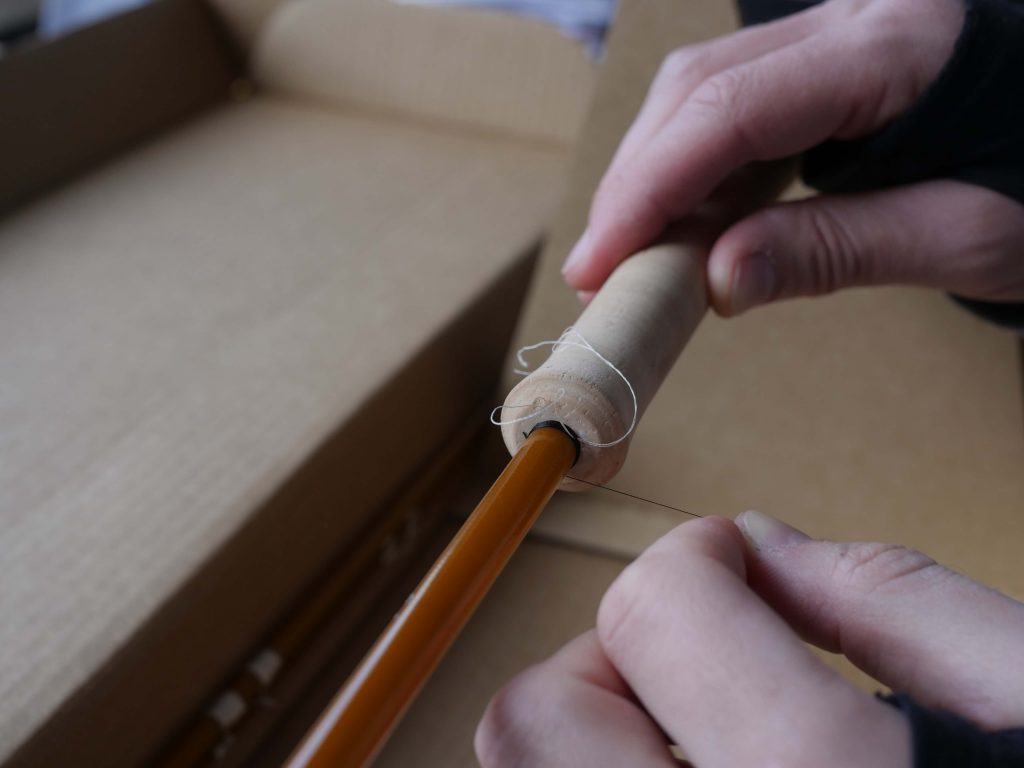
As a last step of the wrapping we are creating a winding check just above the grip. It’s a small decorative ring meant to cover any gap between the bore in the grip and the blank. It also prevents water from soaking in between the blank and the grip.
Applying Epoxy Rod Finish to your Fiberglass Fly Rod
Mix up a batch of epoxy following the instructions in the guide book. Thin the equal parts by 1/3. If you mixed 2ml of hardener with 2ml of resin thin it with about 2ml of thinner (alcohol). Start at the guide foot and work towards the center. You will see the thread absorb the finish. Don’t paint the finish. Instead hold your brush on an already wetted section and let the threads draw in the liquid.
Repeat this for all the guides and the winding check. Then let it dry overnight placing the rod in the stands or a rod dryer if you have one. Advice: clean the brush after the glueing. It might enable you to use it once again.
Finishing the Wraps on the Epic Fly Rod Building Kit – Step Two
Once your guides have dried overnight they should all look nice and clear. Before applying the second coating there is most often some tidying up to do. Trim off any small humps and tag ends using a razor blade.
To finish the coating mix a batch of the two part rod finish according to the instructions. Do not thin this coat! The good thing about rod finishes is the fact that they are self-levelling. This means you don’t have to get it perfect and will still get a great result.
Advice: don’t apply to much finish. Rotate the rod to apply the finish and let it be pulled off the brush instead of painting it on. Quickly move on to the next guide. Once you’re done put the rod back in the stands. You now need to manually rotate it for at least two hours. Simply rotate it by 180 degrees every few minutes. A drying motor makes this process a lot easier. Hence consider getting one with the rod building kit as mentioned in the beginning. Leave your rod to dry for at least 12 hours and at least 24 hours before you cast it!
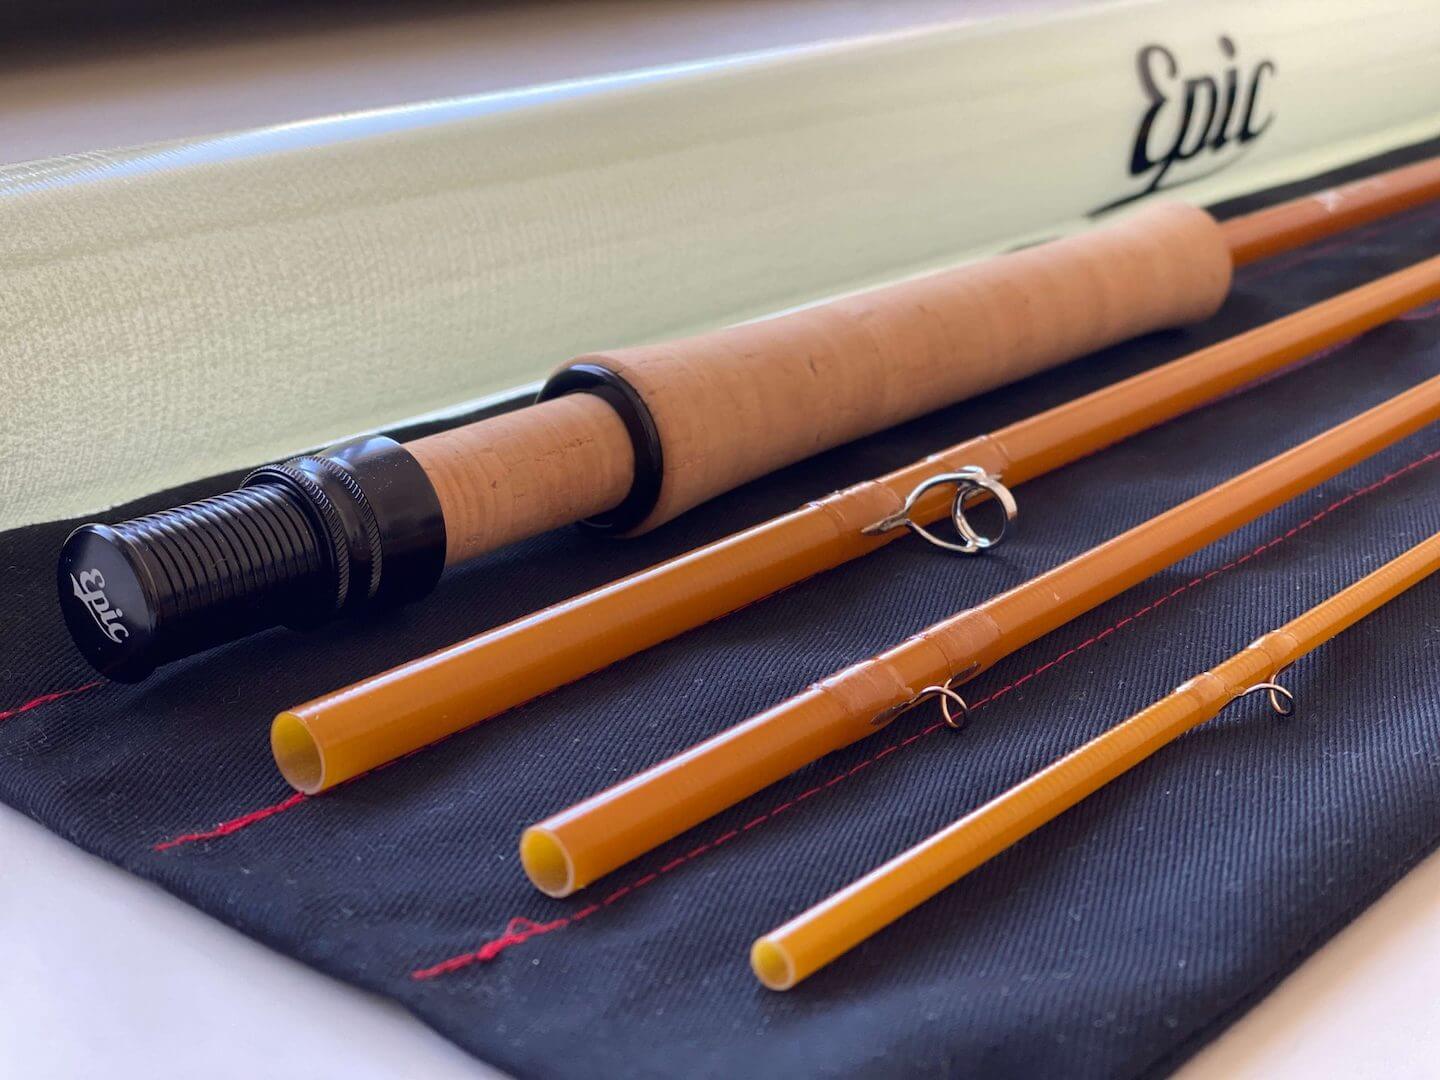
Conclusion
Building my first fly rod was a lot of fun. Doing so together with a friend definitely made it easier. You always have a second opinion. You can also share tasks and in the end it just makes more fun. It is definitely possible to build a fly rod (on the basis of a fly rod building kit) on a weekend and without any prior rod building skills. Epic do a great job in terms of their components and explaining the whole process thoroughly in the accompanying guide book.
Would I build another fly rod? Definitely! The entire process is a lot of fun and it definitely feels special to fish a rod you made yourself. The Epic Fly Rod Building Kit is also a great present for any fly fisherman.
Get your Epic Fly Rod Kit: simply click here
Note: We earn a small commission (at no extra cost for you) if you click on one of the links provided.
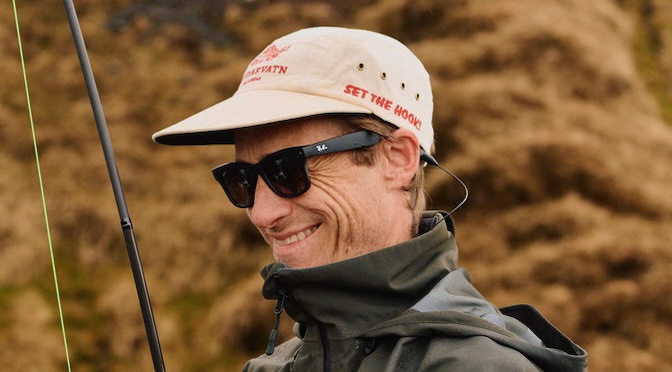
Leonard Schoenberger is a fly fishing professional and gear specialist with over 20 years of experience on the water. As the manager of Heidarvatn, a world-class sea trout lodge in Iceland, his product recommendations and tactical advice are tested in some of the most demanding conditions on earth. His expertise has been mentioned in The New York Times, the Financial Times, and at the Outdoor Media Summit.